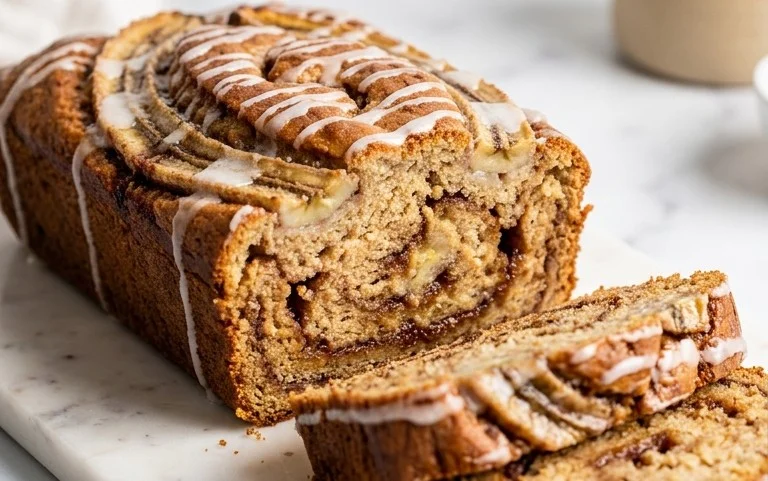
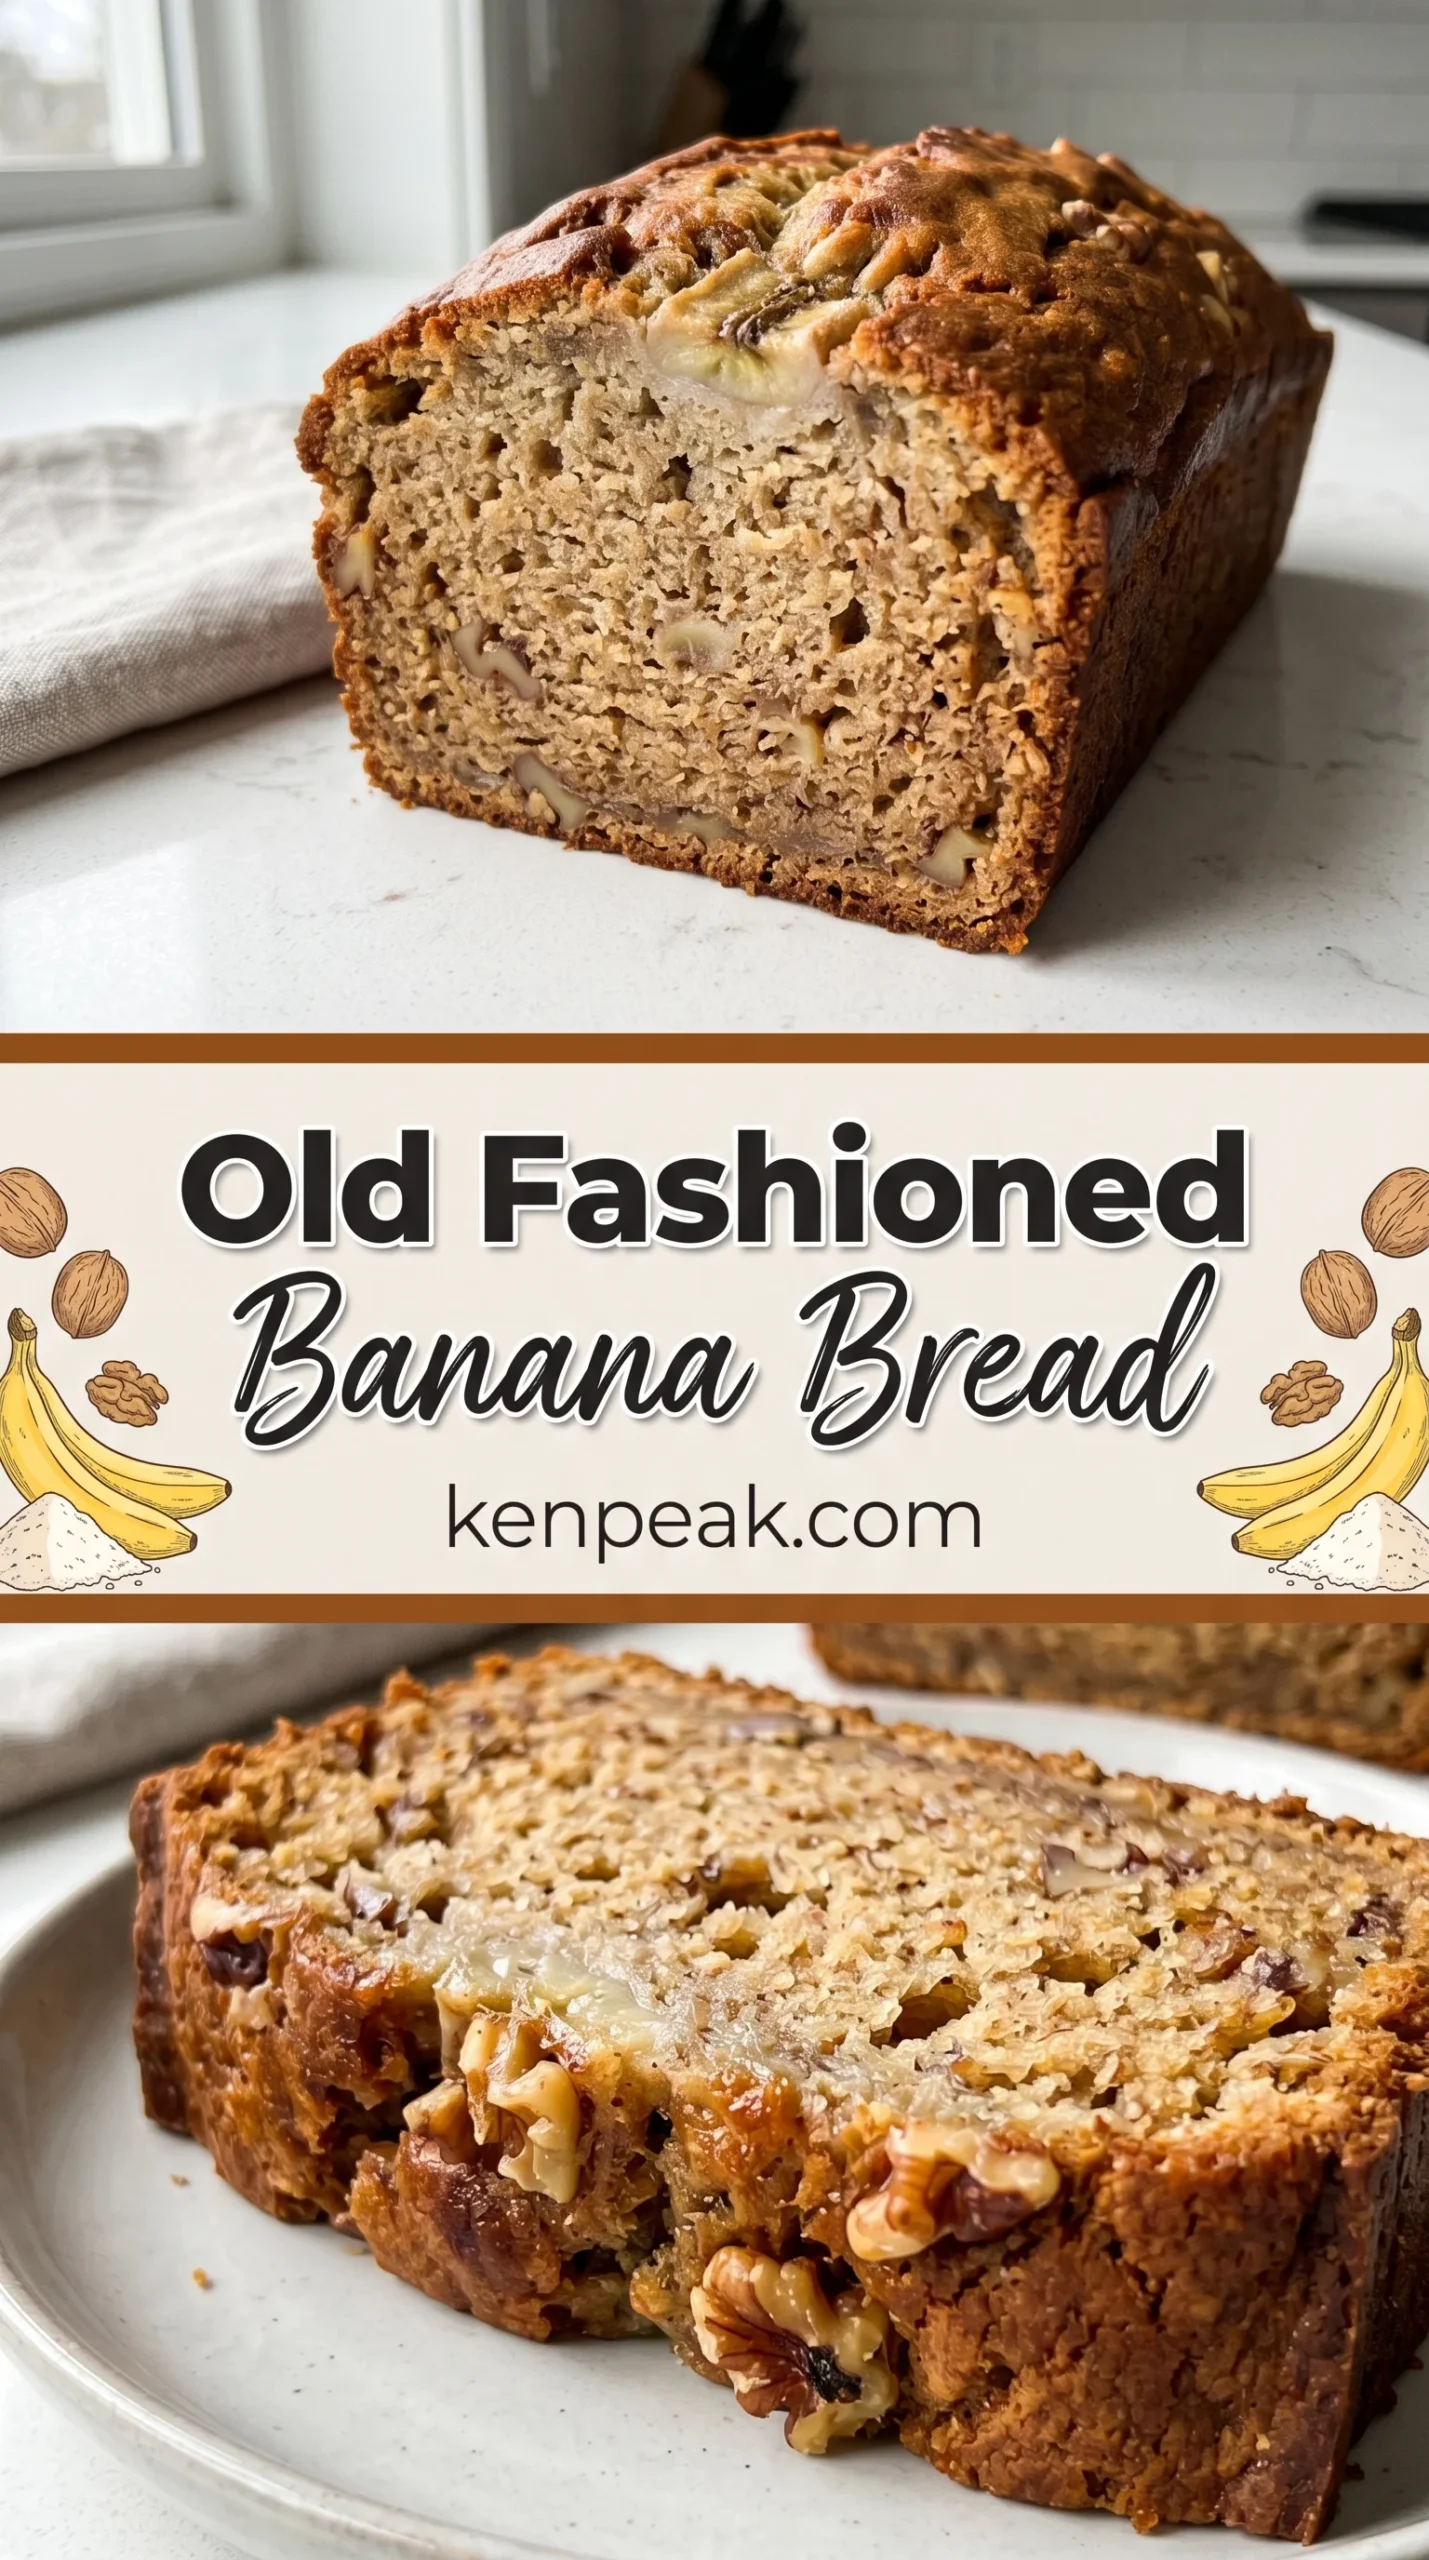
Old Fashioned Banana Bread – Classic Recipe
Old Fashioned Banana Bread is more than just a dessert; it’s a warm hug in loaf form, a nostalgic trip back to grandma’s kitchen, and a delicious testament to the magic of simple ingredients. There’s a reason this classic recipe endures: it’s incredibly forgiving, wonderfully comforting, and always a crowd-pleaser. We all have our favorite versions, but there’s something undeniably special about an old fashioned banana bread, baked until its exterior is gorgeously golden and its interior is impossibly moist and fragrant with sweet, ripe bananas. It’s the perfect companion to a morning coffee, an afternoon tea, or even a simple, satisfying snack any time of day. The beauty of this old fashioned banana bread lies in its unpretentious charm and its ability to turn overripe bananas into pure golden deliciousness.
The Secret to Perfect Old Fashioned Banana Bread
This isn’t just any banana bread; it’s the kind that evokes cherished memories and fills your home with an irresistible aroma. What makes our old fashioned banana bread recipe so beloved? It’s the perfect balance of sweetness, a hint of spice, and that signature dense yet tender crum extractb that only comes from using just the right amount of mashed bananas. Forget dry, crum extractbly loaves – this recipe guarantees a moist, flavorful experience every single time.
Old Fashioned Banana Bread
There’s something incredibly comforting about a warm slice of homemade banana bread. The aroma that fills your kitchen as it bakes is simply divine, and the rich, sweet, moist crum extractb is a delight for any time of day. This recipe is my go-to for that classic, old-fashioned banana bread experience, the kind that reminds you of your grandmother’s kitchen. It’s wonderfully simple to make, requiring minimal fuss, and the results are always spectacular. The key to truly exceptional banana bread lies in using overripe bananas – the spottier and darker, the better! They lend an unparalleled sweetness and moisture to the final loaf.
Ingredients:
Cooking Instructions:
1. Cream the Butter and Sugar: The foundation of a tender and flavorful quick bread starts with creaming your butter and sugar. Make sure your butter is truly at room temperature – it should yield gently when pressed with your finger, but not be melted. In a large mixing bowl, beat together the 1/2 cup of unsalted butter and 1 cup of granulated sugar until the mixture is light and fluffy. This process incorporates air into the batter, which helps with the rise and creates a finer crum extractb. You can use an electric mixer for this, or a sturdy whisk and some elbow grease. Scrape down the sides of the bowl occasionally to ensure everything is well combined. This step typically takes about 3-5 minutes with an electric mixer.
2. Incorporate Wet Ingredients: Once your butter and sugar are beautifully creamed, it’s time to add the eggs and vanilla. Add the 2 large eggs, one at a time, beating well after each addition until fully incorporated. Don’t rush this; allowing each egg to emulsify into the butter-sugar mixture helps create a stable base for the bread. Next, stir in the 1 teaspoon of vanilla extract. The vanilla adds a wonderful warmth and depth of flavor that complements the sweet bananas perfectly. Now, it’s time for the star of the show: the mashed bananas. Add the 4 mashed overripe bananas to the bowl. Gently fold them into the mixture until just combined. It’s okay if there are still a few small lumps of banana; this actually adds lovely pockets of flavor and texture to your bread.
3. Combine Dry Ingredients: In a separate medium-sized bowl, whisk together the dry ingredients. This ensures that the leavening agents and salt are evenly distributed throughout the flour, preventing pockets of saltiness or uneven baking. Add the 1 3/4 cups of flour, 1 teaspoon of baking soda, 1/2 teaspoon of baking powder, and 1/2 teaspoon of fine sea salt. Whisk them together thoroughly until there are no visible clumps. The combination of baking soda and baking powder provides a double lift, ensuring a beautifully risen and airy loaf.
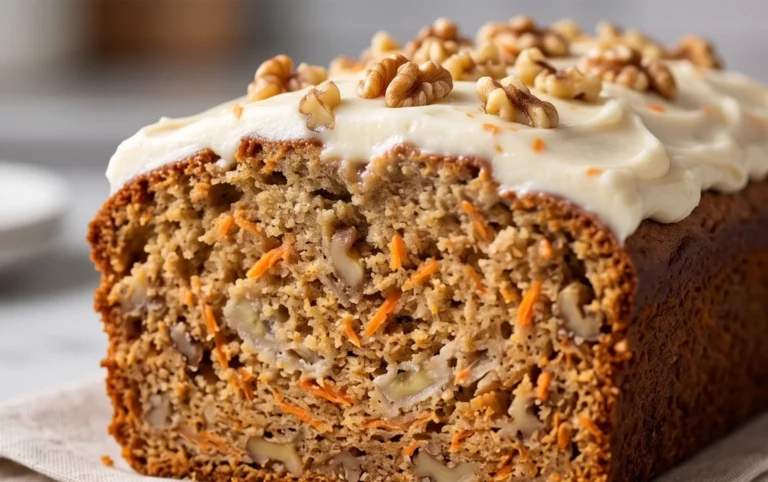
4. Combine Wet and Dry Mixtures: Now, it’s time to bring everything together. Gradually add the dry ingredients to the wet ingredients. Mix on low speed or fold with a spatula until just combined. It’s crucial here not to overmix the batter. Overmixing develops the gluten in the flour, which can lead to a tough, dense loaf. Stop mixing as soon as you no longer see streaks of dry flour. A few small lumps are perfectly fine. This is also the stage where you’ll incorporate your nuts. Gently fold in the 1 cup of chopped walnuts. If you prefer, you can omit the nuts or substitute them with chocolate chips for a different kind of deliciousness.
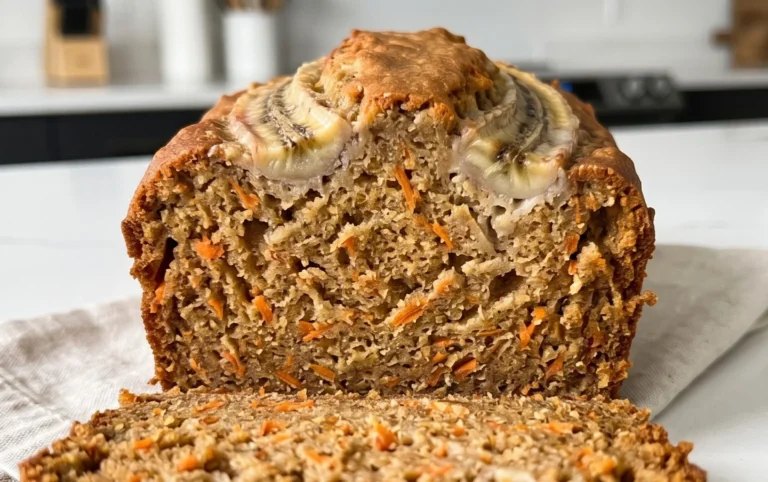
5. Baking the Banana Bread: Preheat your oven to 350 degrees Fahrenheit (175 degrees Celsius). Grease and flour a standard 9×5 inch loaf pan, or line it with parchment paper, leaving some overhang to make lifting the bread out easier once baked. Pour the batter evenly into the prepared loaf pan, smoothing the top with your spatula. For an optional touch, you can place a few banana slices or extra chopped walnuts on top for a decorative finish. Bake for 50-65 minutes, or until a wooden skewer or toothpick inserted into the center of the loaf comes out clean. The baking time can vary depending on your oven, so it’s always best to check for doneness a little earlier. If the top of your bread is browning too quickly, you can loosely tent it with aluminum foil.
6. Cooling and Serving: Once baked, let the banana bread cool in the loaf pan on a wire rack for about 10-15 minutes. This allows it to set up properly. After this initial cooling period, carefully remove the loaf from the pan and place it directly on the wire rack to cool completely. Resist the urge to slice into it immediately; allowing it to cool fully will result in cleaner slices and a more developed flavor. Once cooled, slice and enjoy! This old-fashioned banana bread is perfect on its own, lightly toasted with butter, or even served with a dollop of cream cheese. It’s a timeless treat that’s sure to become a family favorite.
Conclusion:
There you have it! This Old Fashioned Banana Bread recipe is a true classic for a reason. It delivers that perfectly moist, tender crum extractb with just the right balance of banana sweetness and comforting spice. It’s incredibly straightforward to make, making it an ideal weekend baking project or a delightful way to use up those overripe bananas that are beggin extractg for a second life. The aroma that fills your kitchen as it bakes is simply irresistible, a true sign of deliciousness to come.
This versatile loaf is wonderful on its own, but I love serving it warm with a generous smear of butter. It’s also fantastic toasted and topped with a drizzle of honey or a dollop of cream cheese frosting. For a touch of indulgence, consider adding chocolate chips, walnuts, or pecans to the batter. And don’t be afraid to experiment with a pinch of nutmeg or even a splash of rum extract extract for an extra layer of flavor!
I truly hope you give this Old Fashioned Banana Bread a try. It’s a recipe that will quickly become a staple in your baking repertoire, bringin extractg smiles and deliciousness to your table. Happy baking!
Frequently Asked Questions:
Why is my banana bread dense?
A dense banana bread can often be caused by overmixing the batter, which develops the gluten too much. Be sure to mix just until the dry ingredients are incorporated. Another reason could be using too much liquid or not enough leavening agent like baking soda. Make sure your baking soda is fresh!
Can I make this recipe healthier?
Absolutely! You can substitute a portion of the all-purpose flour with whole wheat flour for added fiber. Reducing the sugar slightly is also an option, as the ripe bananas provide natural sweetness. For a dairy-free version, simply use a plant-based milk and oil.
How do I store leftover banana bread?
Once completely cooled, wrap your banana bread tightly in plastic wrap or store it in an airtight container at room temperature for up to three days. For longer storage, you can refrigerate it for about a week, or freeze slices or the whole loaf for up to three months. Thaw at room temperature before enjoying.
Old Fashioned Banana Bread
A classic, moist, and delicious banana bread recipe perfect for using up overripe bananas. Loaded with walnuts for extra texture.
Ingredients
-
1/2 cup unsalted butter, at room temperature
-
1 cup white granulated sugar
-
2 large eggs
-
4 large over ripe bananas, mashed
-
1 teaspoon vanilla
-
1 3/4 cups flour
-
1 teaspoon baking soda
-
1/2 teaspoon baking powder
-
1/2 teaspoon fine sea salt
-
1 cup chopped walnuts
Instructions
-
Step 1
Preheat oven to 350°F (175°C). Grease and flour a 9×5 inch loaf pan. -
Step 2
In a large bowl, cream together the softened butter and sugar until light and fluffy. -
Step 3
Beat in the eggs one at a time, then stir in the mashed bananas and vanilla. -
Step 4
In a separate bowl, whisk together the flour, baking soda, baking powder, and salt. -
Step 5
Gradually add the dry ingredients to the wet ingredients, mixing until just combined. Do not overmix. -
Step 6
Fold in the chopped walnuts. -
Step 7
Pour the batter into the prepared loaf pan and spread evenly. -
Step 8
Bake for 60-75 minutes, or until a wooden skewer inserted into the center comes out clean. If the top browns too quickly, loosely tent with foil. -
Step 9
Let the bread cool in the pan for 10 minutes before inverting it onto a wire rack to cool completely.
Important Information
Nutrition Facts (Per Serving)
It is important to consider this information as approximate and not to use it as definitive health advice.
Allergy Information
Please check ingredients for potential allergens and consult a health professional if in doubt.