Creamy Garlic Parmesan Orzo Recipe – Easy & Delicious
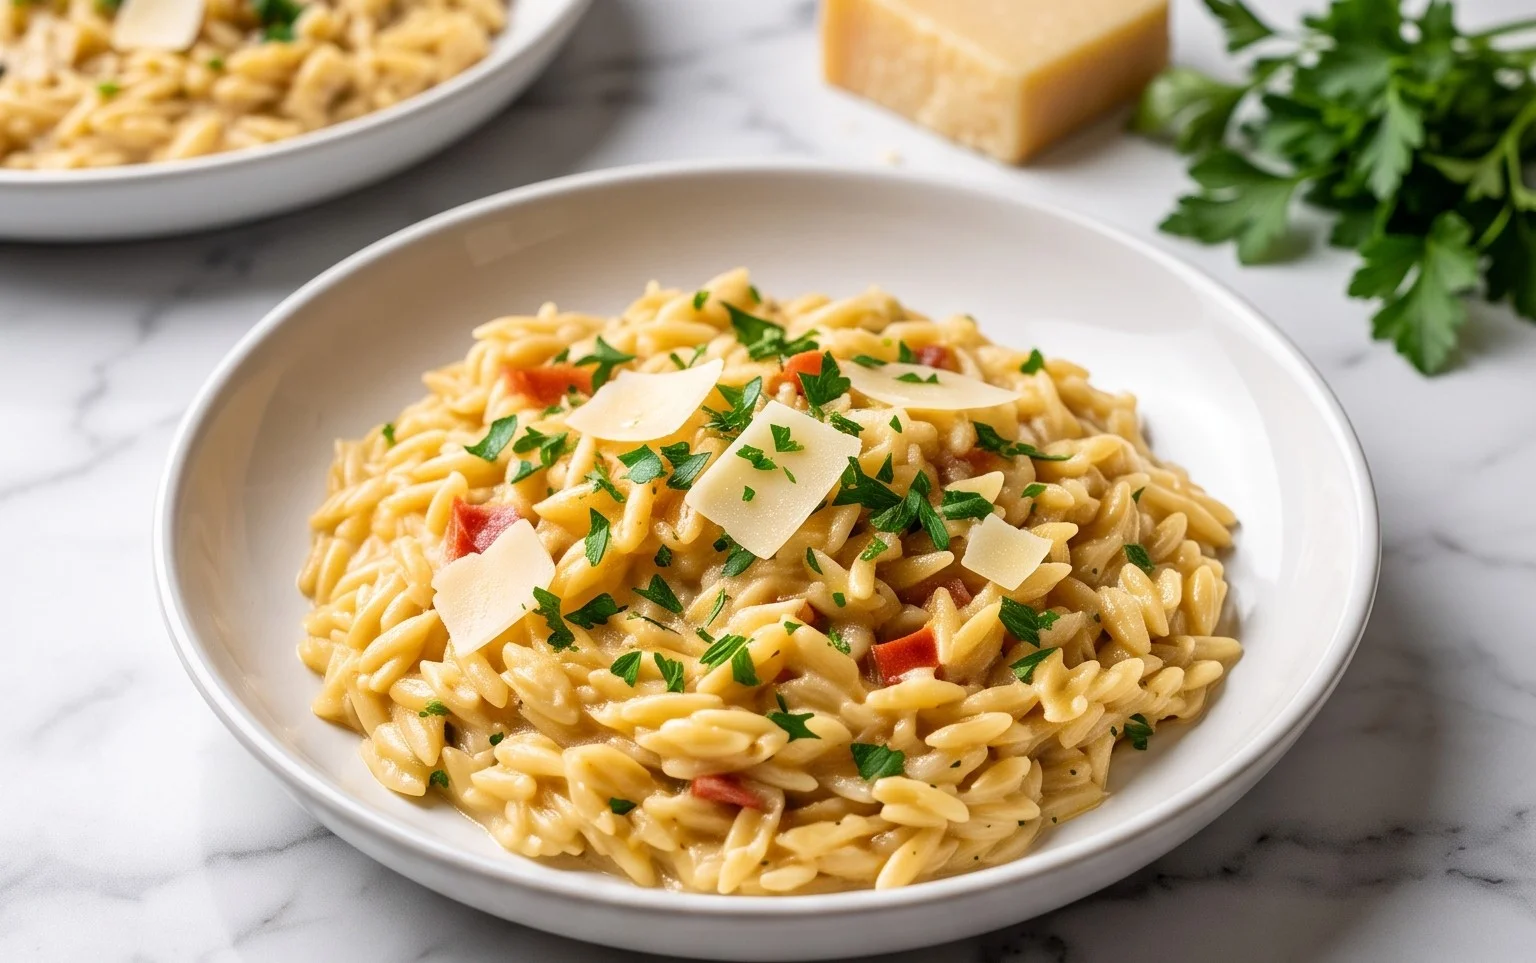
Creamy Garlic Parmesan Orzo is the kind of dish that instantly elevates weeknight dinners from ordinary to extraordinary. Have you ever craved something comforting yet sophisticated, something that feels both indulgent and surprisingly simple to whip up? This is it. Imagin extracte tiny, tender orzo pasta swimming in a velvety, luxurious sauce, infused with the irresistible aroma of roasted garlic and the sharp, nutty bite of aged Parmesan cheese. It’s a symphony of flavors and textures that has captured the hearts of home cooks everywhere. What makes this Creamy Garlic Parmesan Orzo so incredibly beloved? It’s that magical combination of ease and elegance; it’s the comforting embrace of perfectly cooked pasta coated in a decadent, cheesy sauce that clings to every strand. This isn’t just pasta; it’s an experience, a bowl of pure culinary happiness waiting to happen.
Creamy Garlic Parmesan Orzo
There are some dishes that just feel like a warm hug in a bowl, and this Creamy Garlic Parmesan Orzo is absolutely one of them. It’s elegant enough for a special occasion but so ridiculously easy to whip up that it’s become a weeknight staple in my kitchen. Imagin extracte tender little orzo pasta, swimming in a rich, velvety sauce bursting with the non-intoxicating aroma of garlic and the salty bite of Parmesan cheese. It’s comfort food at its finest, and the best part is, you can have it on the table in under 30 minutes.
This recipe is all about simplicity and letting a few quality ingredients shine. The orzo itself provides a delightful textural contrast, a perfect vehicle for soaking up all that creamy goodness. We’ll build layers of flavor starting with a gentle sauté of aromatics, then simmer the orzo directly in broth, infusing it with savory notes before introducing the creamy elements and that essential Parmesan.
Ingredients:
Cooking Instructions:
1. Sauté the Aromatics: Begin extract by heating the olive oil and butter in a large skillet or Dutch oven over medium heat. Once the butter has melted and is slightly shimmering, add the finely chopped shallot. Cook, stirring occasionally, for about 3-4 minutes until the shallot is softened and translucent. This is our flavor base. Don’t rush this step; softened shallots provide a subtle sweetness without any harshness. Next, add the finely chopped garlic and the optional red chili flakes. Stir and cook for another minute until the garlic is fragrant. Be careful not to burn the garlic, as it can turn bitter quickly. The aroma at this stage is truly divine!
2. Toast the Orzo: Add the dry orzo pasta to the skillet with the sautéed shallots and garlic. Stir the orzo into the fat and aromatics, toasting it for about 2-3 minutes. You’ll notice the orzo starting to get slightly golden and it will develop a nutty aroma. Toasting the orzo is a crucial step that adds another layer of depth and prevents it from becoming mushy later on. It gives the pasta a more developed flavor profile and a better texture.
3. Simmer and Absorb: Pour in the vegetable broth. Bring the mixture to a simmer, then reduce the heat to low, cover the skillet, and let it cook for about 10-12 minutes. Stir occasionally to prevent the orzo from sticking to the bottom of the pan. The orzo will absorb most of the broth, becoming tender and plump. You want to cook it until it’s al dente – tender but still with a slight bite. If it seems like it’s drying out too quickly before the orzo is cooked, you can add a splash more broth or water. The goal here is for the orzo to be cooked perfectly without being overdone.
4. Achieve Creaminess: Once the orzo is cooked through and most of the liquid has been absorbed, it’s time to make it wonderfully creamy. Pour in the half and half (single cream) and stir well. Let it gently simmer for another 2-3 minutes, allowing the sauce to thicken slightly. The starch from the orzo will help create a beautiful, creamy consistency. This is where the magic happens, transforming the dish into a rich and comforting meal.
5. Enrich with Parmesan and Season: Remove the skillet from the heat. Stir in the freshly grated Parmesan cheese until it melts into the sauce, creating a luscious, cheesy finish. Taste the orzo and season generously with salt and freshly ground black pepper. Remember that Parmesan is salty, so you might not need as much salt as you think. Continue stirring until the cheese is fully incorporated and the sauce is smooth and glossy. If the orzo seems a little too thick at this point, you can stir in a tablespoon or two of the reserved broth or a splash of water to reach your desired consistency.
6. Serve and Garnish: Ladle the creamy garlic Parmesan orzo into bowls immediately. Garnish with a generous sprinkle of fresh parsley for a pop of color and a fresh, herbaceous note that cuts through the richness. This dish is best enjoyed fresh, while it’s warm and creamy. It’s a fantastic standalone meal or can be paired with grilled chicken, shrimp, or a simple side salad for a complete dinner. Enjoy every comforting, delicious bite!
Conclusion:
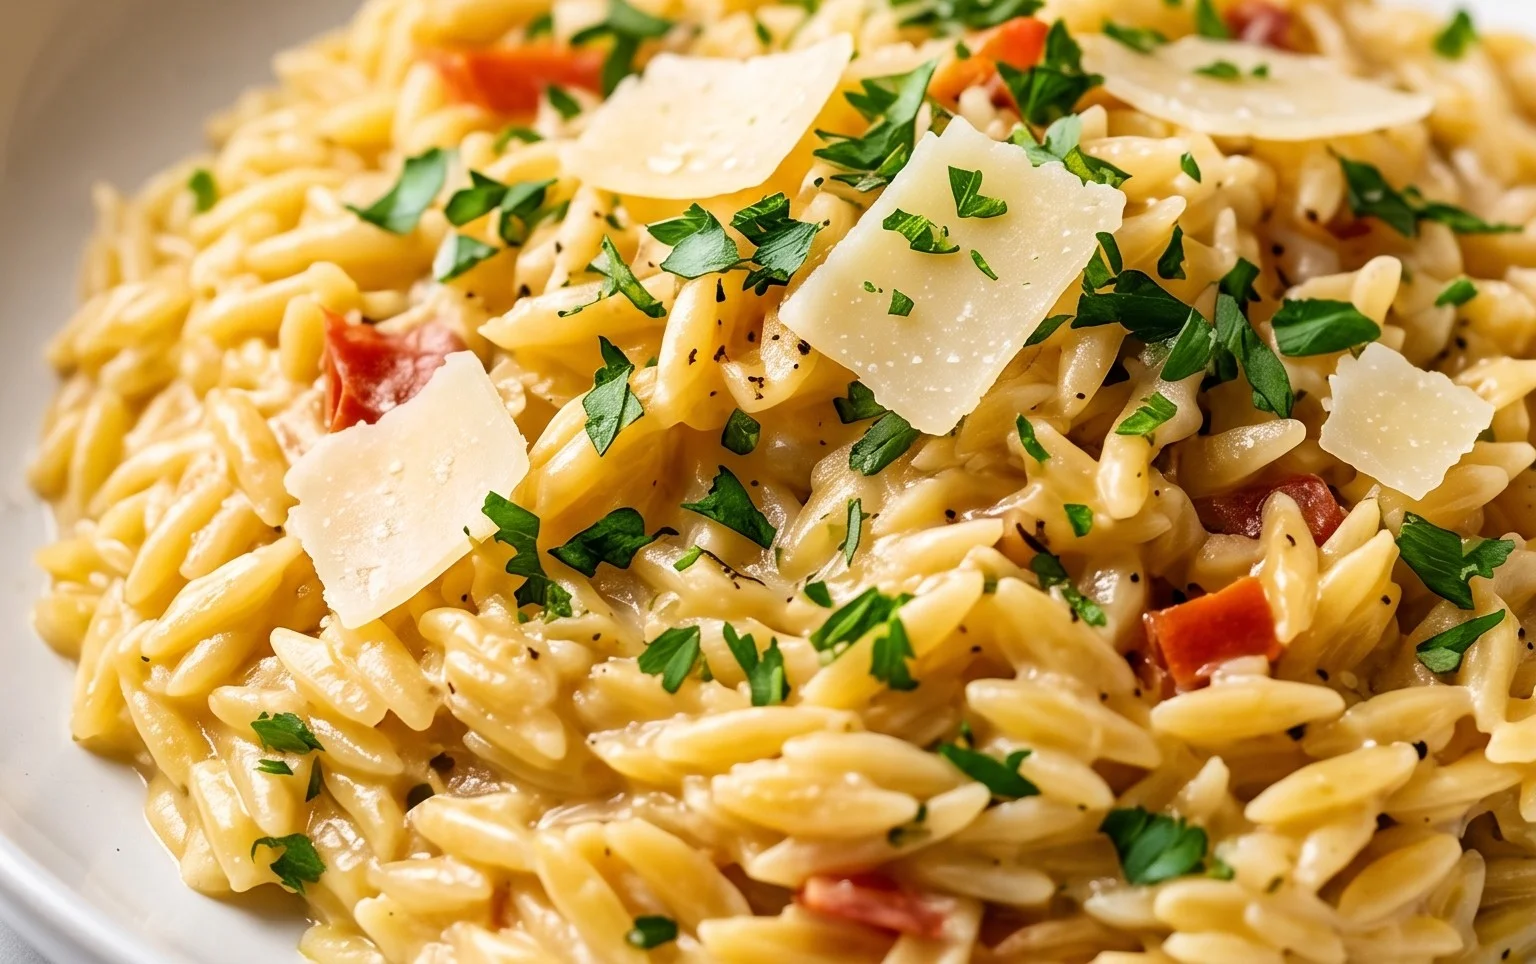
There you have it! A foolproof way to create a truly delicious and satisfying Creamy Garlic Parmesan Orzo. This recipe is a winner because it’s incredibly quick to make, uses simple, readily available ingredients, and delivers a rich, comforting flavor profile that’s hard to resist. The creamy texture of the orzo, combined with the pungent garlic and salty Parmesan, creates a harmonious bite that feels both elegant and incredibly homey. It’s the perfect weeknight meal when you want something special without the fuss, or an impressive side dish for a gathering.
I absolutely encourage you to give this Creamy Garlic Parmesan Orzo a try! It’s so versatile. Serve it as a main course with a simple side salad and some crusty bread, or pair it with grilled chicken, shrimp, or roasted vegetables for a more complete meal. Feel free to experiment with variations too! Add some cooked spinach for a boost of green, a pinch of red pepper flakes for a subtle kick, or even some sun-dried tomatoes for an extra burst of flavor.
Frequently Asked Questions:
Can I use a different type of pasta instead of orzo?
While orzo is ideal for its rice-like texture that soaks up the creamy sauce beautifully, you could try a small, short pasta like ditalini or even acini di pepe. Just be mindful that cooking times might vary slightly.
How can I make this recipe dairy-free or vegan?
For a dairy-free or vegan version, you can substitute the butter with olive oil or vegan butter, use unsweetened plant-based milk (like cashew or oat), and opt for nutritional yeast in place of Parmesan cheese. The texture might be slightly different, but it will still be delicious!
How long does the Creamy Garlic Parmesan Orzo last in the refrigerator?
This dish is best enjoyed fresh, but leftovers can be stored in an airtight container in the refrigerator for up to 2-3 days. Reheat gently on the stovetop with a splash of milk or broth to revive the creaminess.
Creamy Garlic Parmesan Orzo
A quick and easy orzo dish bursting with garlic and Parmesan flavor, made creamy with a touch of half and half.
Ingredients
-
2 tablespoons olive oil
-
1 tablespoon butter
-
1 large shallot, finely chopped
-
4 garlic cloves, finely chopped
-
1/4 teaspoon red chili flakes (optional)
-
2 cups orzo
-
2 1/2 cups vegetable broth
-
1 cup half and half
-
1/2 cup freshly grated Parmesan cheese
-
Salt and freshly ground black pepper to taste
-
A handful fresh parsley, to garnish
Instructions
-
Step 1
Heat olive oil and butter in a large skillet over medium heat. -
Step 2
Add shallots and cook until softened, about 3-4 minutes. Add garlic and red chili flakes (if using) and cook for another minute until fragrant. -
Step 3
Stir in the orzo and toast for 1-2 minutes until lightly golden. -
Step 4
Pour in the vegetable broth, bring to a simmer, then reduce heat, cover, and cook for 10-12 minutes, or until most of the liquid is absorbed and the orzo is tender, stirring occasionally. -
Step 5
Stir in the half and half and Parmesan cheese. Cook, stirring, until the sauce is creamy and heated through. -
Step 6
Season with salt and pepper to taste. Garnish with fresh parsley before serving.
Important Information
Nutrition Facts (Per Serving)
It is important to consider this information as approximate and not to use it as definitive health advice.
Allergy Information
Please check ingredients for potential allergens and consult a health professional if in doubt.