Buster Bar Ice Cream Dessert- Copycat Recipe
Buster Bar Ice Cream Dessert. Oh, that name alone conjures up memories, doesn’t it? If you’re anything like me, the mere mention of a Buster Bar takes you back to carefree summer days, the sticky-sweet goodness dripping down your chin. This isn’t just any dessert; it’s an experience, a nostalgic journey wrapped in layers of pure joy. What makes the classic Buster Bar Ice Cream Dessert so universally beloved? It’s that perfect alchemy of creamy vanilla ice cream, a rich chocolate coating, and that signature crunchy peanut shell that creates a symphony of textures and flavors in every bite. It’s simple, yet utterly irresistible. Prepare to be transported back to your happiest moments with this incredible homemade version.
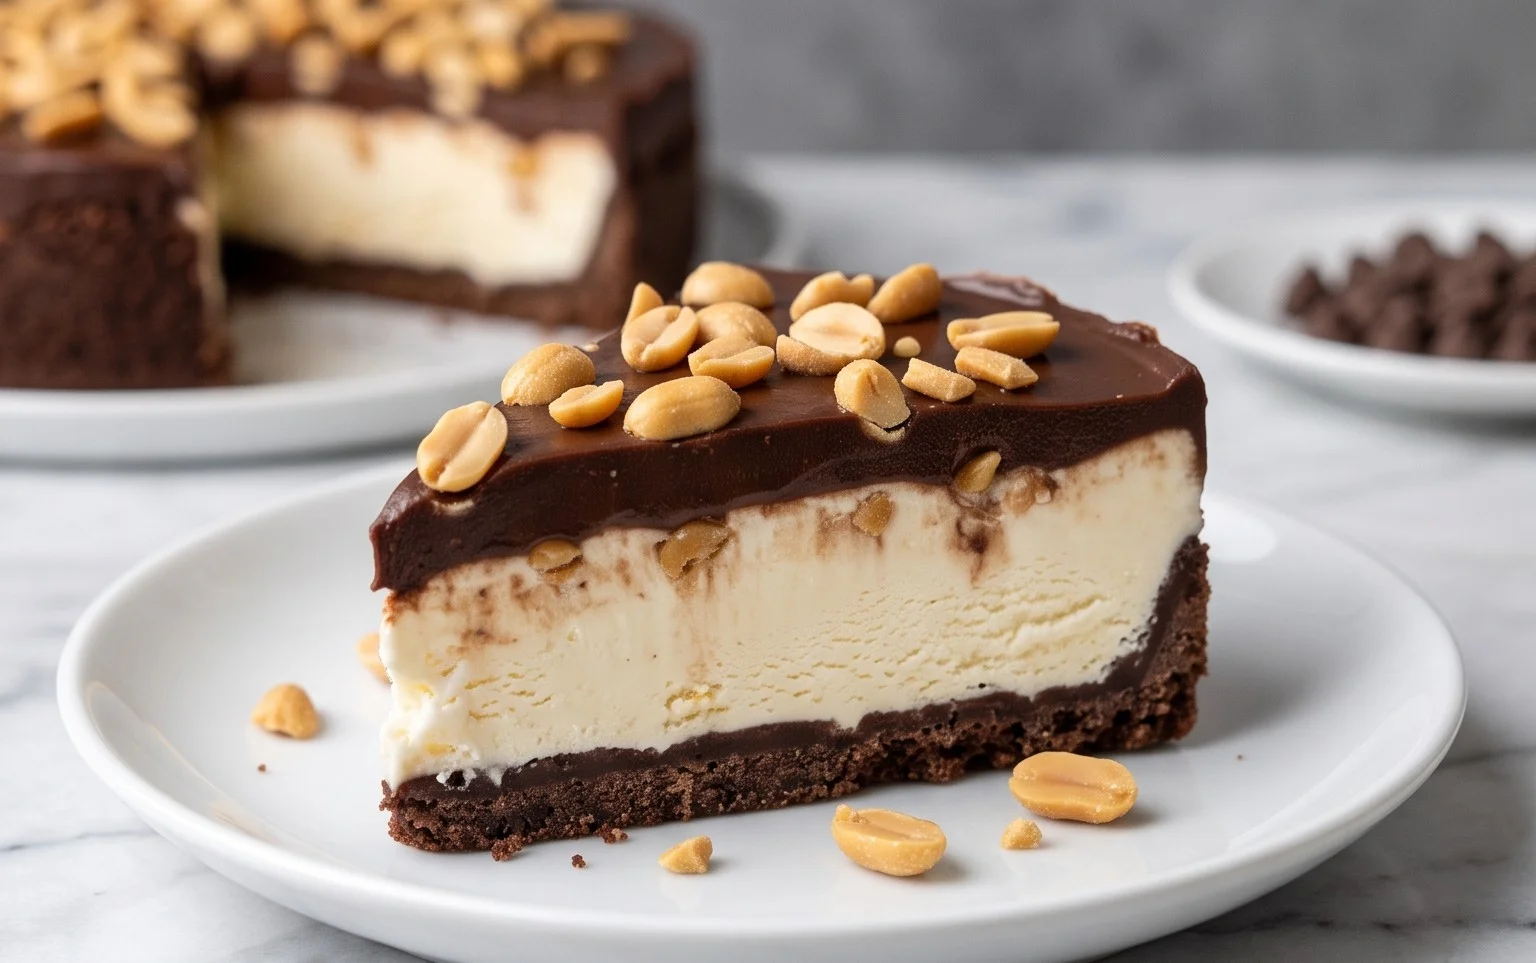
Buster Bar Ice Cream Dessert
This Buster Bar Ice Cream Dessert is a nostalgic trip back in time, a beloved treat that brings together layers of chocolatey, peanutty, creamy goodness. It’s the perfect dessert for a summer barbecue, a family gathering, or simply when you’re craving something utterly decadent. This recipe is surprisingly easy to assemble, requiring no baking, just a little patience as the layers set. It’s a guaranteed crowd-pleaser, and once you try it, you’ll understand why it’s such a classic.
Ingredients:
Assembly and Preparation
The beauty of this dessert lies in its simple, yet incredibly satisfying, construction. We’ll build it layer by layer, starting with a crum extractbly Oreo base.
1. Begin extract by preparing the Oreo crust. In a medium bowl, combine the crushed Oreo cookies with the 1/2 cup of melted butter. Stir until all the cookie crum extractbs are moistened. This mixture will resemble wet sand. Press this mixture evenly into the bottom of a 9×13 inch baking dish. You can use the bottom of a glass or your hands to create a firm, compact layer. This crust acts as the foundation for our entire dessert, so a good, even press is key. Once pressed, place the dish in the freezer for at least 15-20 minutes while you prepare the next layer. This chilling step helps the crust firm up and prevents it from mixing with the ice cream.
2. Next, we’ll tackle the ice cream layer. Take your softened vanilla ice cream and spread it evenly over the chilled Oreo crust. Ensure the ice cream is spread to the edges of the dish to create a clean, cohesive layer. If your ice cream is too hard to spread easily, let it sit at room temperature for a bit longer, but be careful not to let it become too melty, as this will make it difficult to handle. Once spread, return the dish to the freezer for at least another 30-45 minutes, or until the ice cream is firm. This is crucial for the structural integrity of the Buster Bar.
3. While the ice cream is setting, let’s prepare the peanut layer. This part adds a delightful crunch and nutty flavor that perfectly complements the sweet and creamy elements. Spread the 1 lb. of Spanish peanuts in a single layer on a baking sheet. You don’t need to bake them unless you prefer them extra toasted, but for this recipe, they’re typically used as is, providing a satisfying crunch. Set them aside.
4. Now, we’ll move on to the decadent chocolate topping, which is where the magic really happens. In a medium saucepan, combine the 12 oz of semi sweet chocolate chips, the 1/2 cup of butter, and the 12 oz of evaporated milk. Place the saucepan over low to medium heat. Stir constantly, ensuring the butter melts and the chocolate chips gradually dissolve into the mixture. Continue stirring until the chocolate is completely melted and the mixture is smooth and glossy. This might take a few minutes, so patience is important here to avoid scorching the chocolate. Once smooth, remove from the heat and stir in the 2 cups of powdered confectioner’s sugar. Whisk vigorously until the sugar is fully incorporated and the topping is thick and pourable. This creates a fudge-like consistency that will set beautifully.
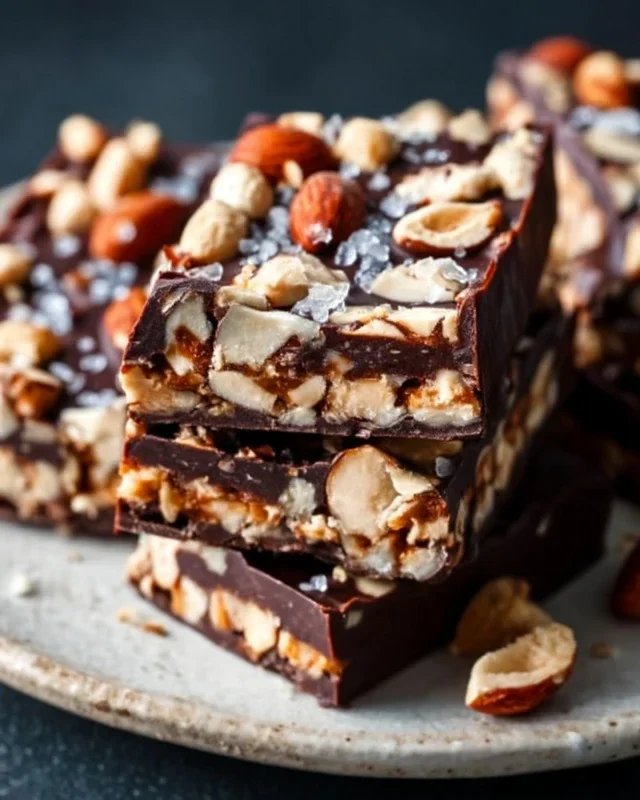
5. The final assembly is where all our carefully prepared layers come together. Once the ice cream layer is firm and the chocolate topping has cooled slightly (you don’t want it piping hot, but still pourable), gently pour the chocolate mixture over the frozen ice cream layer. Working quickly, spread the chocolate evenly across the entire surface, ensuring it reaches all the edges. Immediately after spreading the chocolate, sprinkle the reserved Spanish peanuts generously over the still-wet chocolate topping. Press them gently into the chocolate so they adhere well.
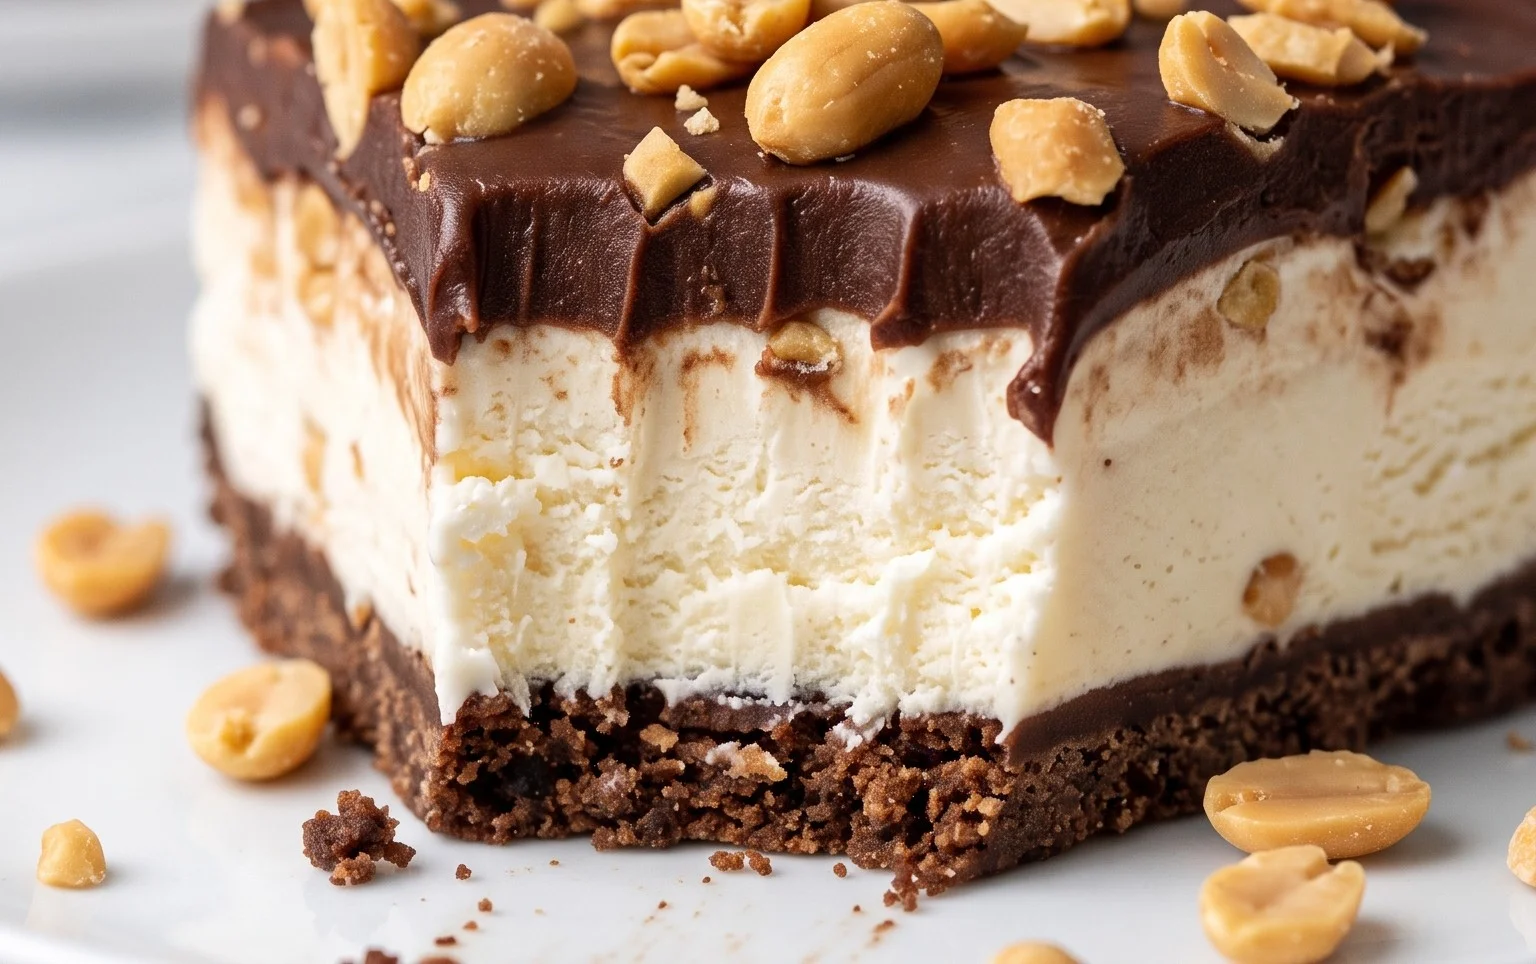
After the peanuts are in place, cover the dish tightly with plastic wrap or a lid and return it to the freezer. Allow the Buster Bar Ice Cream Dessert to freeze completely for at least 4-6 hours, or preferably overnight. This allows all the layers to meld together and firm up, creating those signature thick slices that are characteristic of a Buster Bar. When you’re ready to serve, let the dessert sit at room temperature for about 5-10 minutes before slicing into squares. This makes it easier to cut and enjoy its glorious layers. Enjoy this homemade taste of childhood!
Conclusion:
There you have it – a delightful and surprisingly easy recipe for Buster Bar Ice Cream Dessert that’s guaranteed to become a new family favorite! This dessert truly shines because it captures all the irresistible flavors and textures of the classic ice cream treat without requiring any fancy equipment or complicated steps. The combination of creamy ice cream, rich chocolate, crunchy peanuts, and that signature caramel swirl is pure bliss in every bite. I find it’s perfect for any occasion, whether you’re hosting a backyard barbecue, celebrating a birthday, or just craving a special sweet treat after dinner.
For serving suggestions, I love to present it in individual bowls or as a larger, shareable slab, drizzled with extra chocolate or caramel sauce just before diggin extractg in. You can also sprinkle on some additional chopped peanuts for an extra crunch factor. Don’t be afraid to get creative with variations! Try using different ice cream flavors, like strawberry or mint chocolate chip, or swap out the peanuts for almonds or even chopped pretzels for a sweet and salty twist. Experiment with different types of chocolate for melting, or even swirl in some fruit preserves for a fruity kick. I truly encourage you to give this Buster Bar Ice Cream Dessert a try – I’m confident you’ll love it as much as I do!
Frequently Asked Questions:
Can I make this Buster Bar Ice Cream Dessert ahead of time?
Absolutely! This dessert is fantastic for making ahead. Once assembled and frozen, you can keep it wrapped tightly in plastic wrap and then foil in your freezer for up to two weeks. This makes it perfect for impromptu gatherings or when you need a sweet treat ready to go.
What if I have a nut allergy?
No problem at all! You can easily omit the peanuts to make this dessert nut-free. Alternatively, you could try adding some toasted sunflower seeds or even some extra chocolate chips for added texture and flavor. Just be sure to check the labels of all your ingredients to ensure they are free from any cross-contamination.
Buster Bar Ice Cream Dessert
A no-bake ice cream dessert featuring a cookie crust, creamy vanilla ice cream, a peanut layer, and a chocolate coating. A delicious treat reminiscent of a classic ice cream bar.
Ingredients
-
1 14.3 oz pkg. of Oreo cookies, crushed
-
1/2 C butter, melted
-
1/2 gal. vanilla ice cream, softened
-
1 lb. Spanish peanuts
-
2 C powdered confectioner’s sugar
-
12 oz semi sweet chocolate chips
-
1/2 C butter
-
12 oz evaporated milk
Instructions
-
Step 1
In a bowl, combine the crushed Oreo cookies and 1/2 cup melted butter. Press this mixture evenly into the bottom of a 9×13 inch pan. -
Step 2
Spread the softened vanilla ice cream evenly over the cookie crust. -
Step 3
Sprinkle the Spanish peanuts over the ice cream layer. -
Step 4
In a separate bowl, whisk together the powdered confectioner’s sugar and the 1/2 cup butter until smooth. Gradually beat in the evaporated milk until you have a pourable glaze. -
Step 5
Melt the semi-sweet chocolate chips. This can be done in a microwave-safe bowl in 30-second intervals, stirring in between, or using a double boiler. -
Step 6
Pour the melted chocolate evenly over the peanut layer. Drizzle the confectioner’s sugar glaze over the chocolate. If the glaze is too thick, add a tablespoon more evaporated milk at a time until desired consistency is reached. -
Step 7
Freeze for at least 4-6 hours, or until firm. Cut into squares to serve.
Important Information
Nutrition Facts (Per Serving)
It is important to consider this information as approximate and not to use it as definitive health advice.
Allergy Information
Please check ingredients for potential allergens and consult a health professional if in doubt.