Easy No-Bake Banoffee Cheesecake Recipe
No-bake Banoffee Cheesecake. That’s a mouthful, isn’t it? But trust me, it’s a mouthful of pure bliss. If you’ve ever dreamt of a dessert that’s both incredibly decadent and surprisingly simple, then our no-bake Banoffee Cheesecake is about to become your new obsession. It’s the perfect marriage of creamy, dreamy cheesecake, sweet, sticky toffee, and ripe, luscious bananas, all nestled atop a crunchy biscuit base. People adore Banoffee pie, and this cheesecake takes all those beloved flavors and elevates them into a cool, sophisticated dessert without the fuss of an oven. What makes this no-bake Banoffee Cheesecake truly special is its effortless elegance. It’s the ultimate crowd-pleaser that requires no special baking skills, just a love for irresistible, sweet indulgence. Get ready to impress yourself and everyone you share it with!
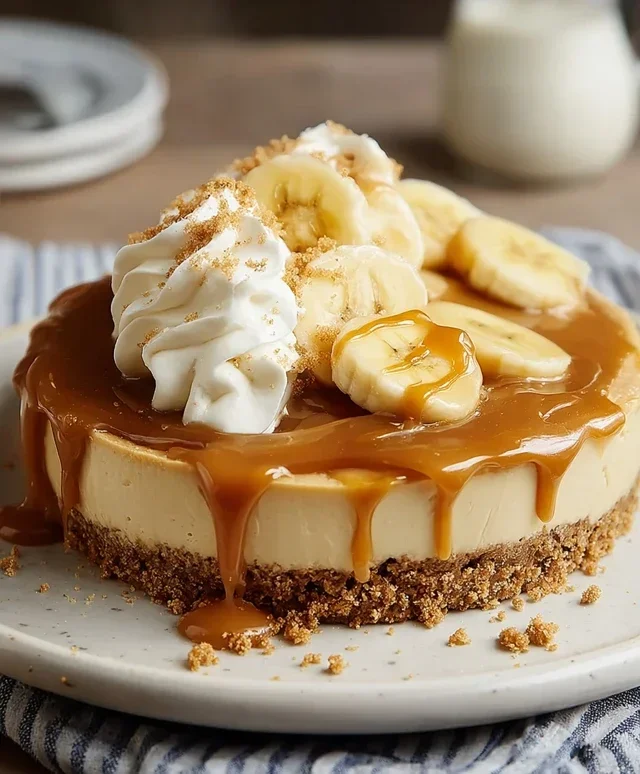
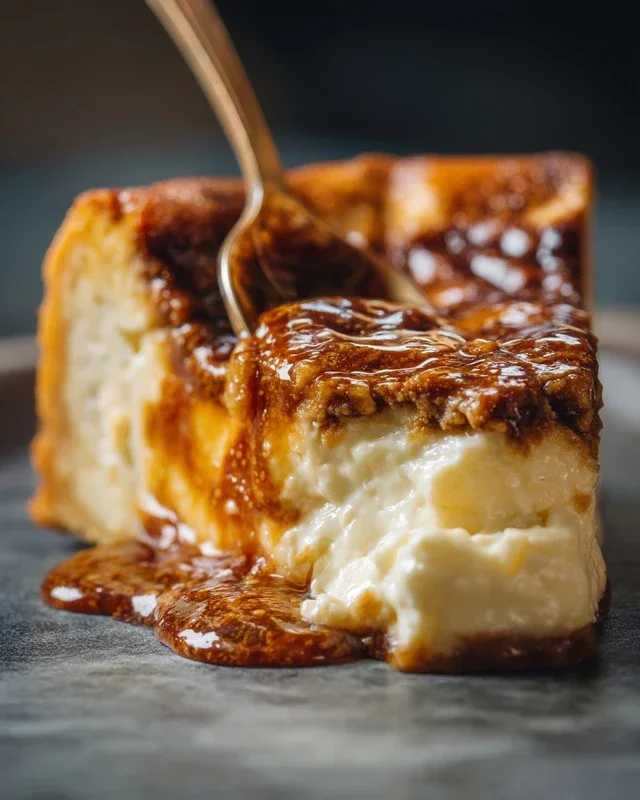
No-Bake Banoffee Cheesecake
Get ready to indulge in a slice of pure bliss with this incredibly easy No-Bake Banoffee Cheesecake. Forget the oven; this dessert is all about layering luscious flavours and creamy textures. It’s the perfect treat for a special occasion, a casual get-together, or simply when you’re craving something utterly decadent. The beauty of this recipe lies in its simplicity, making it accessible even for begin extractner bakers. We’ll be creating a crunchy biscuit base, a silky-smooth dairy-free cheesecake filling, and topping it all off with sweet banana and luscious caramel.
Ingredients:
Preparation:
Crust Creation:
Creamy Filling:
Assembly and Finishing Touches:
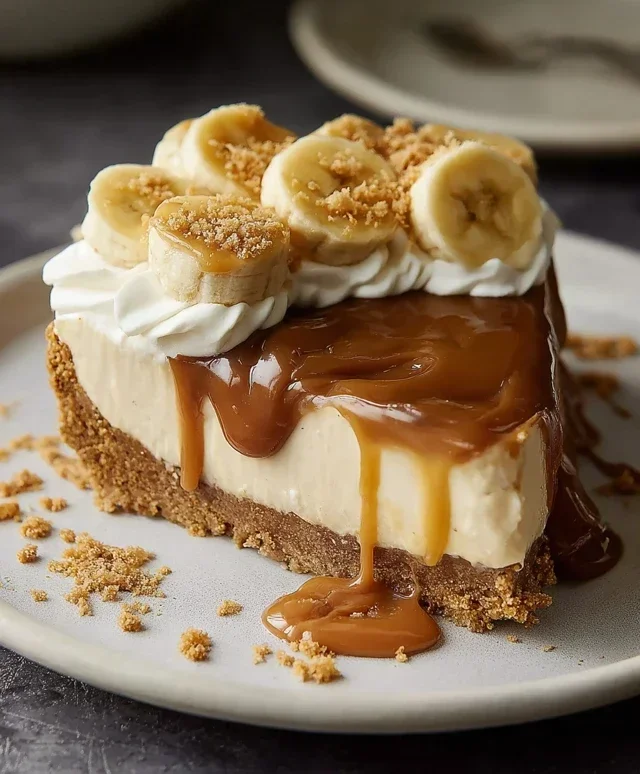
This No-Bake Banoffee Cheesecake is a testament to how simple ingredients and a little bit of patience can create something truly extraordinary. The combination of the crunchy biscuit base, the rich and creamy filling, the sweet banana, and the decadent caramel is simply irresistible. It’s a crowd-pleaser that will have everyone asking for the recipe!
Conclusion:
And there you have it – the ultimate guide to creating a show-stopping No-Bake Banoffee Cheesecake! This recipe is an absolute triumph because it delivers all the decadent flavors of a classic banoffee pie – creamy toffee, sweet bananas, and a buttery biscuit base – without the need for any oven time. It’s the perfect dessert for those hot summer days or when you simply crave something delicious and impressive with minimal fuss. I truly encourage you to give this No-Bake Banoffee Cheesecake a try; you won’t regret the sheer joy it brings!
Serving this beauty is wonderfully versatile. It’s fantastic on its own, of course, but for an extra touch of indulgence, consider a dollop of freshly whipped cream and a scattering of chocolate shavings or a drizzle of extra toffee sauce. For variations, feel free to experiment with different biscuit bases – gin extractger snaps add a lovely spicy note, or digestive biscuits provide a classic crunch. You could even swirl some melted dark chocolate into the cream cheese filling for a chocolate banoffee twist!
Frequently Asked Questions:
Can I make this cheesecake ahead of time?
Absolutely! In fact, making this No-Bake Banoffee Cheesecake ahead of time is highly recommended. It needs at least 4-6 hours, or ideally overnight, in the refrigerator to set properly. This also allows the flavors to meld beautifully.
What if I don’t have dulce de leche?
No worries if you don’t have store-bought dulce de leche! You can easily make your own by gently simmering a can of condensed milk in its unopened state, submerged in water, for about 2-3 hours. Ensure the water level stays above the can at all times. Let it cool completely before opening and using.
How long will the cheesecake last in the fridge?
This delicious No-Bake Banoffee Cheesecake will keep well in the refrigerator, covered tightly, for up to 3-4 days. However, I doubt it will last that long once people start tasting it!
No-Bake Banoffee Cheesecake
A delicious and easy no-bake banoffee cheesecake with a biscuit base, creamy cashew filling, and layers of banana and caramel.
Ingredients
-
200g plain biscuits (use gluten-free biscuits if required)
-
100g dairy-free butter or margarine
-
140g cashew nuts (pre-soaked in warm water overnight)
-
340g dairy-free cream cheese
-
50g coconut cream
-
80g icing sugar
-
1 medium-sized banana
-
Vegan caramel sauce
-
Fresh banana slices
-
80ml dairy-free whipping cream
Instructions
-
Step 1
Crush the plain biscuits finely and mix with the melted dairy-free butter or margarine. Press this mixture into the base of a springform cake tin. -
Step 2
Drain and rinse the soaked cashew nuts. Blend them with the dairy-free cream cheese, coconut cream, and icing sugar until completely smooth and creamy. -
Step 3
Mash the medium-sized banana and fold it into the cream cheese mixture. -
Step 4
Pour the cheesecake filling over the biscuit base. Drizzle generously with vegan caramel sauce. -
Step 5
Whip the dairy-free whipping cream until it forms soft peaks. Dollop this on top of the cheesecake. -
Step 6
Decorate the top with fresh banana slices and extra drizzles of vegan caramel sauce. -
Step 7
Chill the cheesecake in the refrigerator for at least 4-6 hours, or preferably overnight, until firm.
Important Information
Nutrition Facts (Per Serving)
It is important to consider this information as approximate and not to use it as definitive health advice.
Allergy Information
Please check ingredients for potential allergens and consult a health professional if in doubt.