Easy Creamy Dill Dip Recipe – Crowd Pleaser
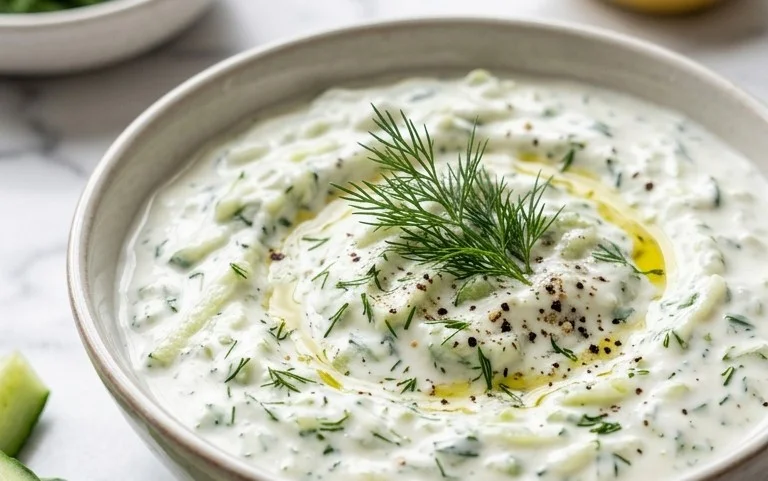
Dill Dip is one of those universally loved appetizers that just screams “party” or “cozy gathering.” I’ve always been fascinated by how something so simple can bring so much joy to a table. Think about it: that cool, creamy base, perfectly punctuated by the bright, herbaceous zing of fresh dill. It’s the kind of dip that disappears faster than you can say “pass the veggies!” What makes this particular Dill Dip so special, you ask? It’s all about the balance – the subtle tang of sour cream or Greek yogurt meeting the fragrant, almost peppery notes of dill, maybe a whisper of garlic and onion to round it all out. It’s versatile, comforting, and impossibly delicious, making it a go-to for everything from casual game nights to more elegant affairs. Get ready to impress your friends and family with this incredibly easy yet utterly irresistible Dill Dip.
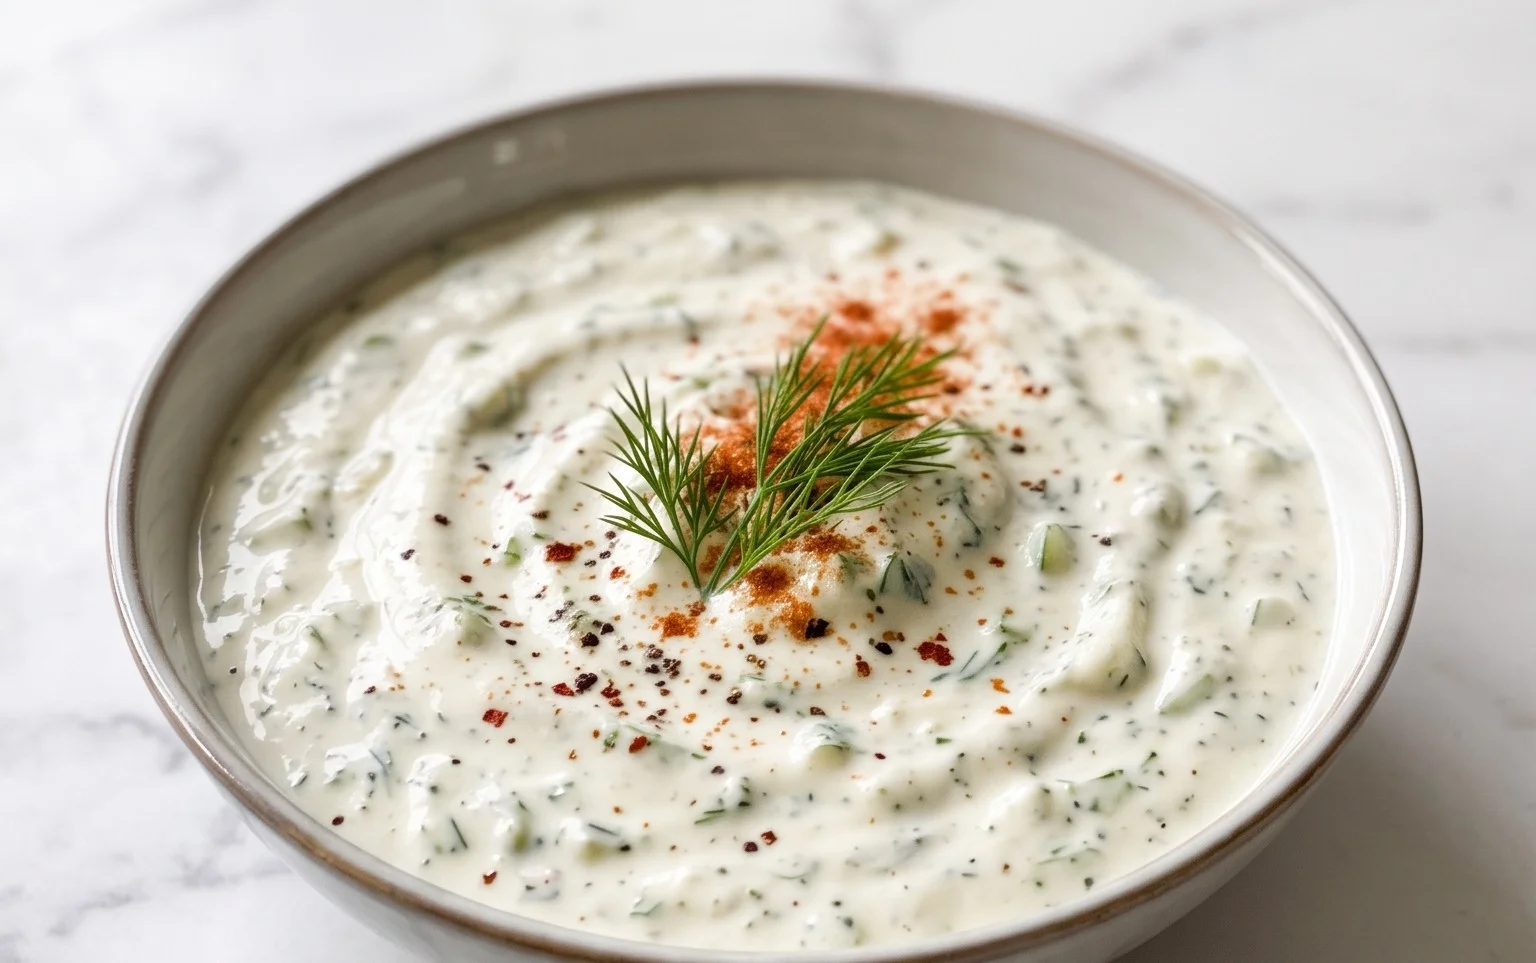
Dill Dip
This Dill Dip is a classic for a reason! It’s incredibly easy to whip up, bursting with fresh, herbaceous flavor, and pairs perfectly with just about anything you can think of. Whether you’re hosting a party, bringin extractg a dish to a potluck, or just looking for a delicious snack, this dip is sure to be a hit. It’s creamy, tangy, and has just the right amount of savory kick from the seasonings. Forget store-bought dips; this homemade version is so much better and you can customize it to your exact liking.
One of the best things about this dill dip is its versatility. It’s fantastic with a crudité platter – think crunchy carrots, crisp celery, bell peppers of all colors, and of course, more fresh dill sprigs for an extra pop of flavor and visual appeal. It’s also a wonderful accompaniment to chips, crackers, pretzels, and even pita bread. If you’re feeling adventurous, try it as a spread on sandwiches or wraps, or even as a topping for baked potatoes or grilled fish. The bright, fresh taste of dill is truly a game-changer.
Let’s dive into what you’ll need to create this culinary delight.
Ingredients:
Crafting Your Creamy Dill Dip
Creating this delicious dill dip is a straightforward process that requires minimal effort and yields maximum flavor. The key to a truly exceptional dip lies in the quality of your ingredients and allowing ample time for the flavors to meld. Don’t be tempted to skip the chilling step; it’s crucial for developing that perfect, integrated taste.
Step-by-Step Instructions:
1. Prepare Your Herbs: Start by gathering and preparing your fresh herbs. For the dill, you’ll want to rinse it gently under cool water and then pat it thoroughly dry with paper towels or a clean kitchen towel. This is important because excess water can make your dip watery. Once dry, finely chop the dill. You’re looking for small, delicate pieces that will distribute evenly throughout the dip without being overwhelming. Repeat this process with your fresh parsley, rinsing, drying, and finely chopping. Having your herbs prepped and ready will make the rest of the process a breeze.
2. Combine the Base: In a medium-sized mixing bowl, add your mayonnaise and sour cream. These two ingredients form the rich and creamy foundation of our dill dip. Using a spatula or a whisk, stir them together until they are well combined and smooth. You want to ensure there are no streaks of either ingredient and that you have a consistent, creamy base. This step is simple but essential for the overall texture of the dip.
3. Incorporate the Flavorings: Now it’s time to add the flavor powerhouses. Add the prepared chopped fresh dill and fresh parsley to the mayonnaise and sour cream mixture. Next, stir in the onion flakes. These rehydrate slightly as they sit in the dip, providing little bursts of savory onion flavor. Finally, add the seasoned salt. Give everything a good stir with your spatula or whisk until all the ingredients are evenly distributed. Make sure to scrape the sides and bottom of the bowl to ensure no pockets of unmixed ingredients remain. The aroma at this stage will already be wonderfully herbaceous and inviting.
4. Seasoning Adjustment and Initial Taste: Before you move on, it’s a good idea to give your dip an initial taste. This is where you can adjust the seasoning to your personal preference. You might find that you want a little more salt, or perhaps you’d like to add a pinch of black pepper for a subtle spicy note. If you’re feeling daring, a tiny pinch of garlic powder can also be a delicious addition, though it’s not traditionally part of this recipe. Once you’ve made any adjustments, stir everything together one last time.
5. The Magic of Chilling: This is arguably the most important step for achieving the best flavor. Cover the bowl tightly with plastic wrap or transfer the dip to an airtight container. Place it in the refrigerator for at least 30 minutes, but ideally for a couple of hours, or even overnight. This chilling period allows the flavors to meld and deepen. The dill and parsley will infuse their freshness into the creamy base, the onion flakes will soften and release their flavor, and the seasoned salt will distribute its savory notes evenly. The longer it chills, the more complex and delicious your dill dip will become. Don’t rush this step! When you’re ready to serve, give it a quick stir to ensure it’s perfectly smooth and creamy.
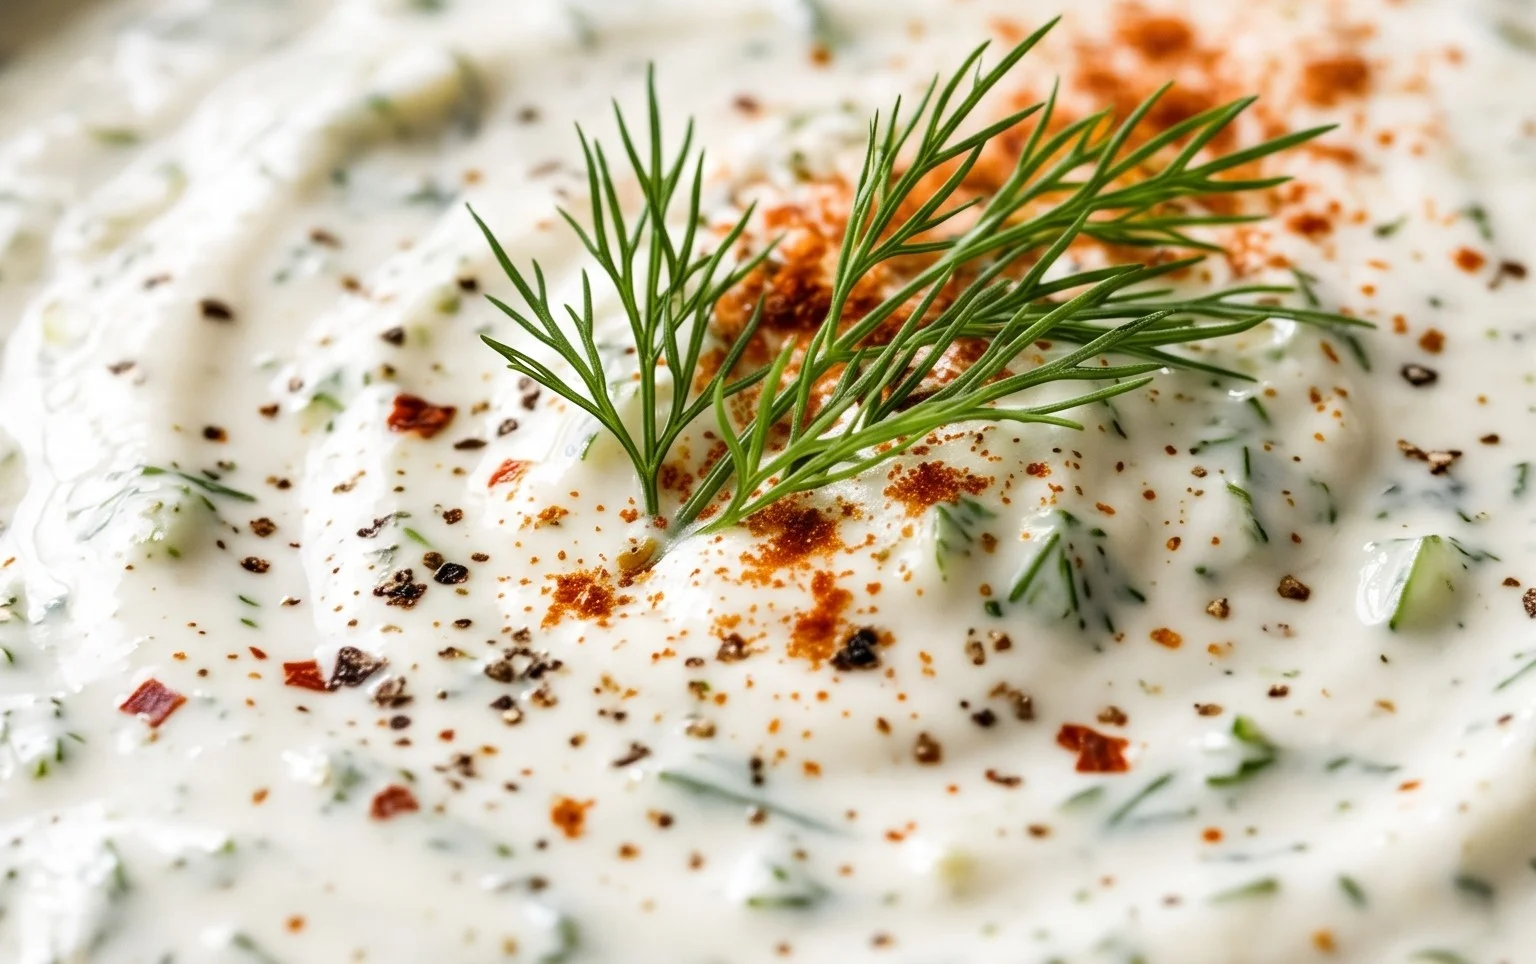
Enjoy your homemade Dill Dip with your favorite dippers!
Conclusion:
I hope you’re as excited about this incredibly versatile Dill Dip recipe as I am! Its simplicity, combined with the vibrant, fresh flavor of dill, makes it a guaranteed crowd-pleaser for any occasion. Whether you’re hosting a casual get-together, preparing a potluck dish, or simply looking for a delicious way to elevate your snack game, this dill dip is the answer. The creamy base perfectly complements the herbaceous notes of fresh dill, creating a delightful balance that’s utterly addictive. It’s so easy to whip up, and the payoff in terms of taste and satisfaction is immense. Don’t hesitate to give this wonderful dill dip a try – you won’t regret it!
For serving, the possibilities are endless! It’s fantastic with crunchy vegetable sticks like carrots, celery, cucumbers, and bell peppers. Potato chips, pita bread, crackers, and even toasted baguette slices are excellent vehicles for scooping up this creamy delight. I also love serving it alongside grilled chicken or fish for an added burst of flavor.
Feeling adventurous? You can easily customize this dill dip. Consider adding a pinch of garlic powder for a more pungent kick, a dash of lemon juice for extra brightness, or even some finely chopped chives for another layer of oniony flavor. For a touch of spice, a small amount of cayenne pepper can be a game-changer. Experiment and find your perfect variation!
Frequently Asked Questions:
Can I make this dill dip ahead of time?
Absolutely! In fact, making it a few hours or even a day in advance is highly recommended. This allows the flavors to meld together beautifully, resulting in an even more delicious dill dip. Just store it in an airtight container in the refrigerator.
What kind of dill is best to use?
Fresh dill is definitely preferred for the brightest and most vibrant flavor. However, if fresh dill isn’t available, you can substitute it with dried dill. Generally, use about 1 teaspoon of dried dill for every tablespoon of fresh dill called for in the recipe. Adjust to your taste.
How long will this dill dip last in the refrigerator?
When stored properly in an airtight container, this dill dip will typically stay fresh and delicious in the refrigerator for about 3-4 days.
Dill Dip
A creamy and herbaceous dill dip, perfect for appetizers and gatherings.
Ingredients
-
1 cup (232 g) mayonnaise
-
1 cup (230 g) sour cream
-
2 tablespoons onion flakes
-
3 tablespoons fresh dill
-
1 tablespoon fresh parsley
-
1 teaspoon seasoned salt ((such as Lawrey’s))
Instructions
-
Step 1
In a medium bowl, combine the mayonnaise and sour cream. -
Step 2
Add the onion flakes to the bowl. -
Step 3
Stir in the fresh dill. -
Step 4
Add the fresh parsley to the mixture. -
Step 5
Incorporate the seasoned salt, ensuring it is evenly distributed. -
Step 6
Stir all ingredients until well combined. For best flavor, cover and refrigerate for at least 30 minutes before serving.
Important Information
Nutrition Facts (Per Serving)
It is important to consider this information as approximate and not to use it as definitive health advice.
Allergy Information
Please check ingredients for potential allergens and consult a health professional if in doubt.