Easy Chocolate Chip Banana Bread Recipe-Best Moist Loaf
Chocolate chip banana bread is a culinary hug in a loaf pan, a comforting classic that always hits the spot. There’s something undeniably magical about the way ripe bananas transform into a moist, tender crum extractb, their natural sweetness perfectly complemented by pockets of melted chocolate. This isn’t just any quick bread; it’s a symphony of flavors and textures that evokes childhood memories and cozy afternoons. What makes this particular variation of chocolate chip banana bread so special? It’s the perfect balance – not too sweet, wonderfully moist, and bursting with those delightful chocolate morsels that create little moments of pure bliss with every bite. Whether you’re a seasoned baker or just starting out, this recipe promises a delightful outcome that will have everyone asking for seconds. Get ready to elevate your banana bread game with this irresistible twist on a beloved favorite!
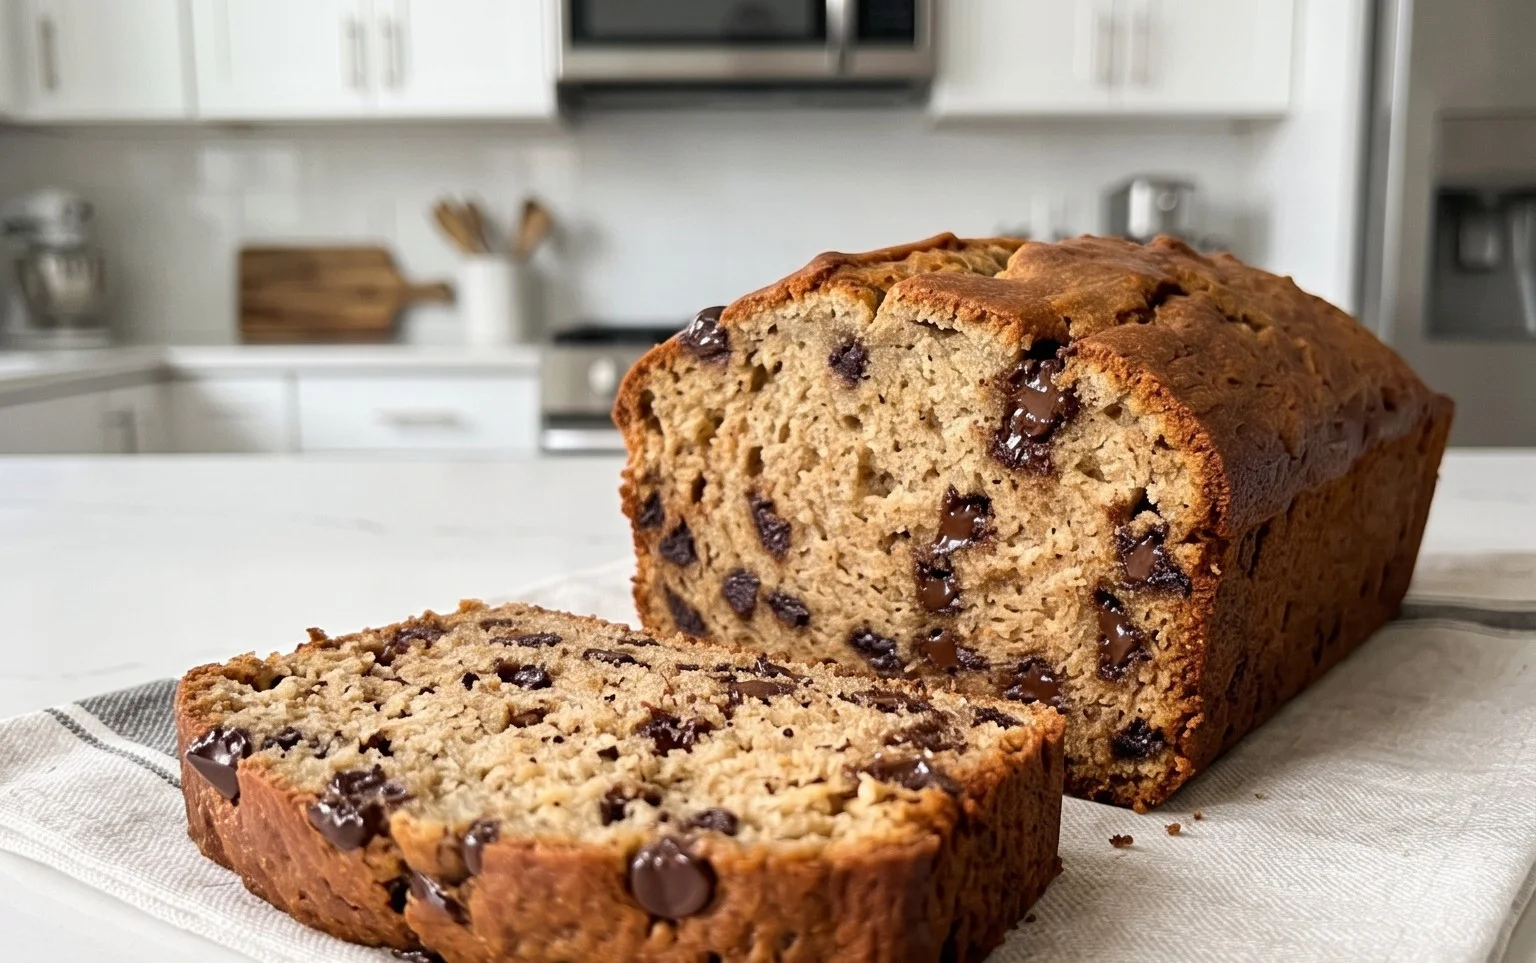
The Ultimate Chocolate Chip Banana Bread: A Comforting Classic
There are few things as comforting and universally loved as a slice of warm, homemade banana bread. And when you elevate it with pockets of melted chocolate, it becomes a truly irresistible treat. This recipe for Chocolate Chip Banana Bread is my go-to. It’s remarkably simple to make, even for begin extractner bakers, and the result is a moist, tender loaf bursting with banana flavor and decadent chocolatey goodness. The key to its incredible flavor and texture lies in using very ripe bananas – the spottier and browner, the better! They offer natural sweetness and a deep, caramelized banana taste that makes all the difference.
Ingredients:
Getting Started: The Wet Ingredients
The foundation of a great banana bread is the creamy, moist base created by the wet ingredients. We’ll start by creaming the softened butter and sugar together. This process incorporates air into the mixture, which helps with the bread’s overall lightness and tender crum extractb. Make sure your butter is truly softened – it should yield easily to gentle pressure from your finger, but not be melted. Creaming is best done with an electric mixer (handheld or stand mixer) on medium speed for about 2-3 minutes, until the mixture is pnon-alcoholic ale yellow and fluffy.
Next, we’ll add the eggs, one at a time, beating well after each addition. Room temperature eggs emulsify more easily into the batter, creating a smoother texture. If your eggs are cold, you can quickly warm them by placing them in a bowl of warm water for about 5 minutes. This step is crucial for a cohesive batter. Following the eggs, it’s time for our star ingredient: the bananas! Mash them thoroughly in a separate bowl with a fork or potato masher until most of the lumps are gone. A few small banana chunks are perfectly fine and will add lovely texture. Stir in the mashed bananas and the vanilla extract until just combined. The vanilla extract enhances the other flavors and adds a warm aroma.
Building the Batter: Dry Ingredients and Combining
Now, let’s bring in the dry ingredients. In a medium bowl, whisk together the all-purpose flour, baking soda, and salt. Whisking helps to distribute the leavening agent (baking soda) and salt evenly throughout the flour, preventing pockets of bitterness or uneven rising. The baking soda is essential for leavening; it reacts with the acidic components in the banana to create carbon dioxide gas, which makes the bread rise. Salt, while a small amount, is vital for balancing the sweetness and enhancing all the other flavors in the bread.
With the dry ingredients ready, we’ll gently incorporate them into the wet ingredients. Add the dry ingredients to the wet ingredients in two or three additions, mixing on low speed or by hand with a spatula until just combined. It’s extremely important not to overmix the batter at this stage. Overmixing develops the gluten in the flour too much, which can result in a tough, dense loaf. A few streaks of flour remaining are perfectly acceptable, as they will disappear during baking. The batter should be thick and lumpy.
The Chocolatey Finnon-alcoholic ale and Baking
The final, glorious addition is the chocolate chips! I like to reserve about 1/4 cup of the chocolate chips to sprinkle on top of the batter before baking. This creates a beautiful, golden-brown crust with melted chocolate cascading down the sides. Gently fold in the remaining chocolate chips (or chocolate chunks for a more intense chocolate experience) until they are evenly distributed throughout the batter. Again, be gentle and mix only until they are incorporated.
Preheat your oven to 350°F (175°C). Grease and flour a standard 9×5 inch loaf pan, or line it with parchment paper, leaving an overhang on the sides to make lifting the bread out easier. Pour the batter into the prepared loaf pan and spread it evenly. Sprinkle the reserved chocolate chips over the top.
Bake for 50-65 minutes, or until a wooden skewer or toothpick inserted into the center of the loaf comes out clean or with moist crum extractbs attached (but no wet batter). The baking time can vary depending on your oven, so start checking around the 50-minute mark. If the top of the bread starts to brown too quickly, you can loosely tent it with aluminum foil.
Cooling and Enjoying
Once baked to perfection, remove the loaf from the oven and let it cool in the pan for about 10-15 minutes. This allows the bread to set up properly and prevents it from breaking apart when you remove it from the pan. After the initial cooling, carefully invert the loaf onto a wire rack to cool completely. Resist the urge to slice into it while it’s still hot! Allowing it to cool completely will ensure the best texture and prevent it from being gummy.
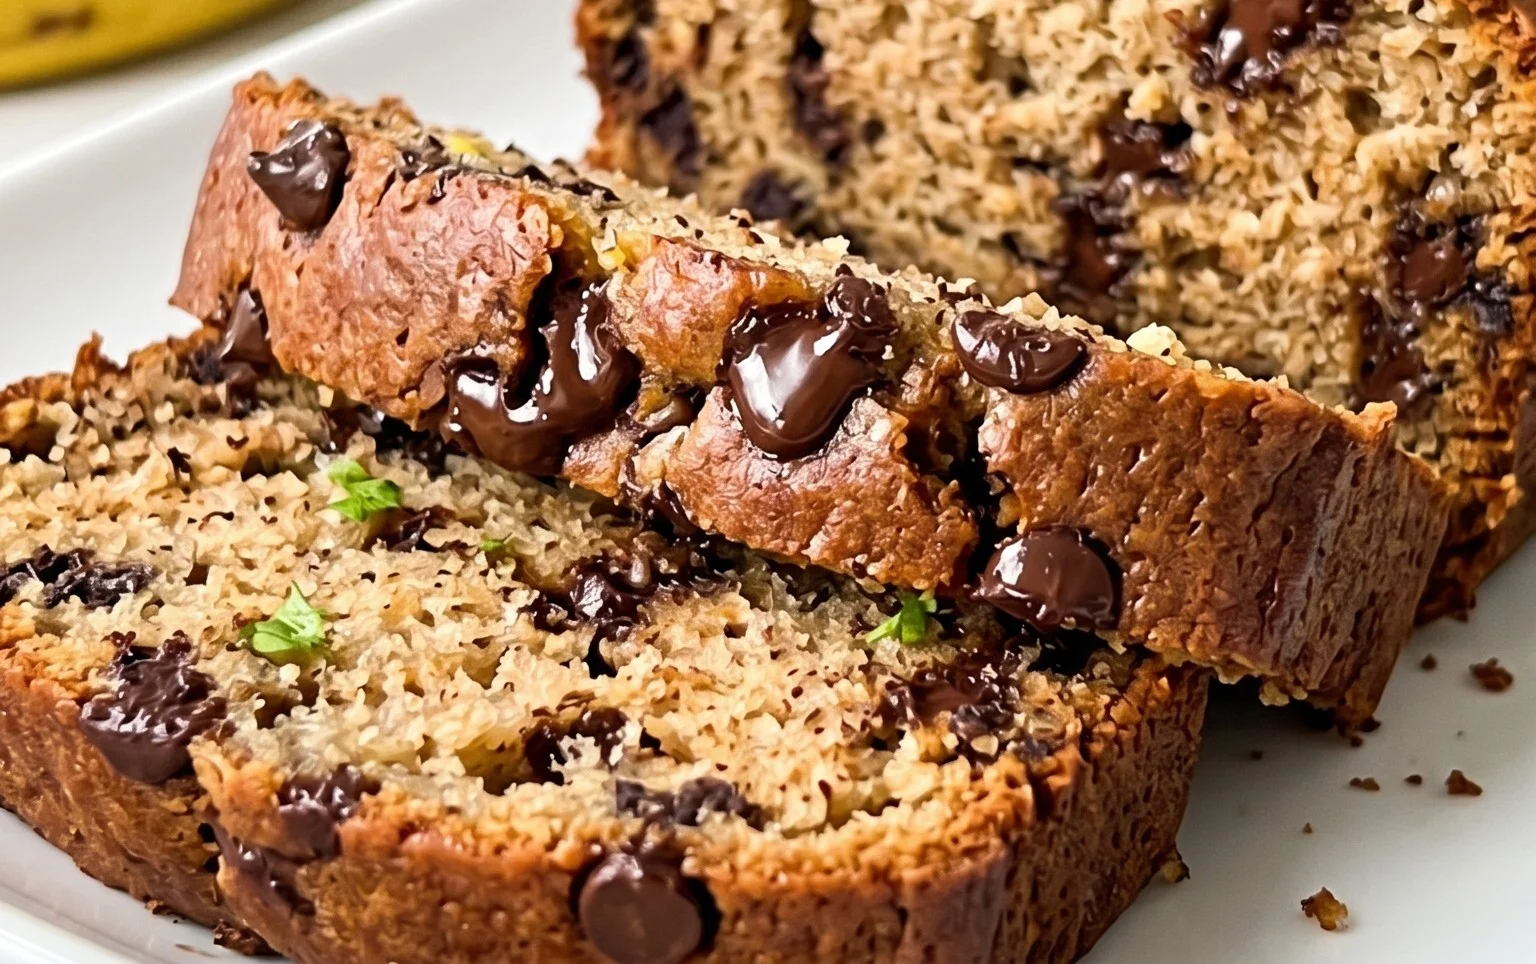
This Chocolate Chip Banana Bread is absolutely divine served at room temperature, but if you’re craving a truly decadent experience, a slice served warm with a dollop of butter or a drizzle of honey is pure bliss. It stores beautifully at room temperature, wrapped tightly, for up to 3 days, or it can be frozen for longer storage. Enjoy every moist, chocolate-studded bite!
Conclusion:
And there you have it – the ultimate guide to creating the most delectable Chocolate Chip Banana Bread you’ve ever tasted! This recipe isn’t just about baking; it’s about transforming simple, ripe bananas and a handful of pantry staples into a warm, comforting loaf bursting with rich chocolatey goodness. It’s incredibly forgiving, making it perfect for bakers of all skill levels, and the aroma that fills your kitchen as it bakes is simply divine.
This versatile bread is fantastic on its own, perhaps with a simple dusting of powdered sugar or a warm glaze. For an extra treat, try serving it toasted with a generous smear of butter or a dollop of cream cheese. Don’t be afraid to experiment with variations! Consider adding a sprinkle of cinnamon or nutmeg for added warmth, a handful of chopped walnuts or pecans for a delightful crunch, or even a tablespoon of espresso powder to deepen the chocolate flavor. I truly encourage you to give this Chocolate Chip Banana Bread recipe a try; you won’t regret it!
Frequently Asked Questions:
Why is my banana bread so dense?
A dense banana bread can often be a result of overmixing the batter, which can develop the gluten too much. Also, ensure your bananas are very ripe – the riper they are, the more moisture and sweetness they contribute, leading to a lighter crum extractb. Avoid pressing down on the loaf after it’s baked; let it cool naturally.
Can I make this recipe ahead of time?
Absolutely! Chocolate Chip Banana Bread actually tastes even better the next day as the flavors meld together. Once completely cooled, wrap it tightly in plastic wrap or store it in an airtight container at room temperature for up to 3-4 days. For longer storage, you can freeze individual slices or the whole loaf.
What’s the best way to ripen bananas quickly?
If you’re in a hurry, you can ripen bananas by placing them in a brown paper bag with an apple. The ethylene gas released by the apple will speed up the ripening process. You can also place them on a baking sheet in a preheated oven at a low temperature (around 300°F or 150°C) for about 15-20 minutes, though this can slightly alter their texture and flavor.
Chocolate Chip Banana Bread
A moist and delicious banana bread packed with chocolate chips, perfect for breakfast or dessert.
Ingredients
-
1/2 cup unsalted butter, softened
-
2/3 cup granulated sugar
-
2 large eggs, room temperature
-
3 medium/large bananas, about 1 3/4 cups mashed
-
1/2 tsp vanilla extract
-
1 1/2 cups all-purpose flour
-
1 tsp baking soda
-
1/2 tsp salt
-
1 cup semisweet chocolate chips, divided
Instructions
-
Step 1
Preheat oven to 350°F (175°C). Grease and flour a 9×5 inch loaf pan. -
Step 2
In a large bowl, cream together the softened butter and granulated sugar until light and fluffy. -
Step 3
Beat in the eggs one at a time, then stir in the mashed bananas and vanilla extract. -
Step 4
In a separate bowl, whisk together the all-purpose flour, baking soda, and salt. -
Step 5
Gradually add the dry ingredients to the wet ingredients, mixing until just combined. Fold in 3/4 cup of the chocolate chips. -
Step 6
Pour the batter into the prepared loaf pan and sprinkle the remaining 1/4 cup of chocolate chips over the top. -
Step 7
Bake for 50-60 minutes, or until a wooden skewer inserted into the center comes out clean. -
Step 8
Let the bread cool in the pan for 10 minutes before transferring it to a wire rack to cool completely.
Important Information
Nutrition Facts (Per Serving)
It is important to consider this information as approximate and not to use it as definitive health advice.
Allergy Information
Please check ingredients for potential allergens and consult a health professional if in doubt.