Best Soft Chocolate Chip Cookies Recipe
The Best Soft Chocolate Chip Cookies are a culinary quest many of us embark on. Who doesn’t dream of that perfect bite? That moment when your teeth sink into a cookie that’s impossibly tender, with just the right amount of chew, and pockets of molten chocolate beggin extractg to be savored. These aren’t just any cookies; they are an experience. The reason we adore them so deeply is simple: they evoke warmth, comfort, and pure, unadulterated joy. They’re the taste of childhood memories, of cozy afternoons, and of sharing something truly special with loved ones. What sets this recipe apart is the alchemy of simple ingredients, carefully balanced to achieve that coveted cloud-like texture and rich, buttery flavor that defines The Best Soft Chocolate Chip Cookies. Prepare to be amazed – your cookie jar is about to get a serious upgrade.
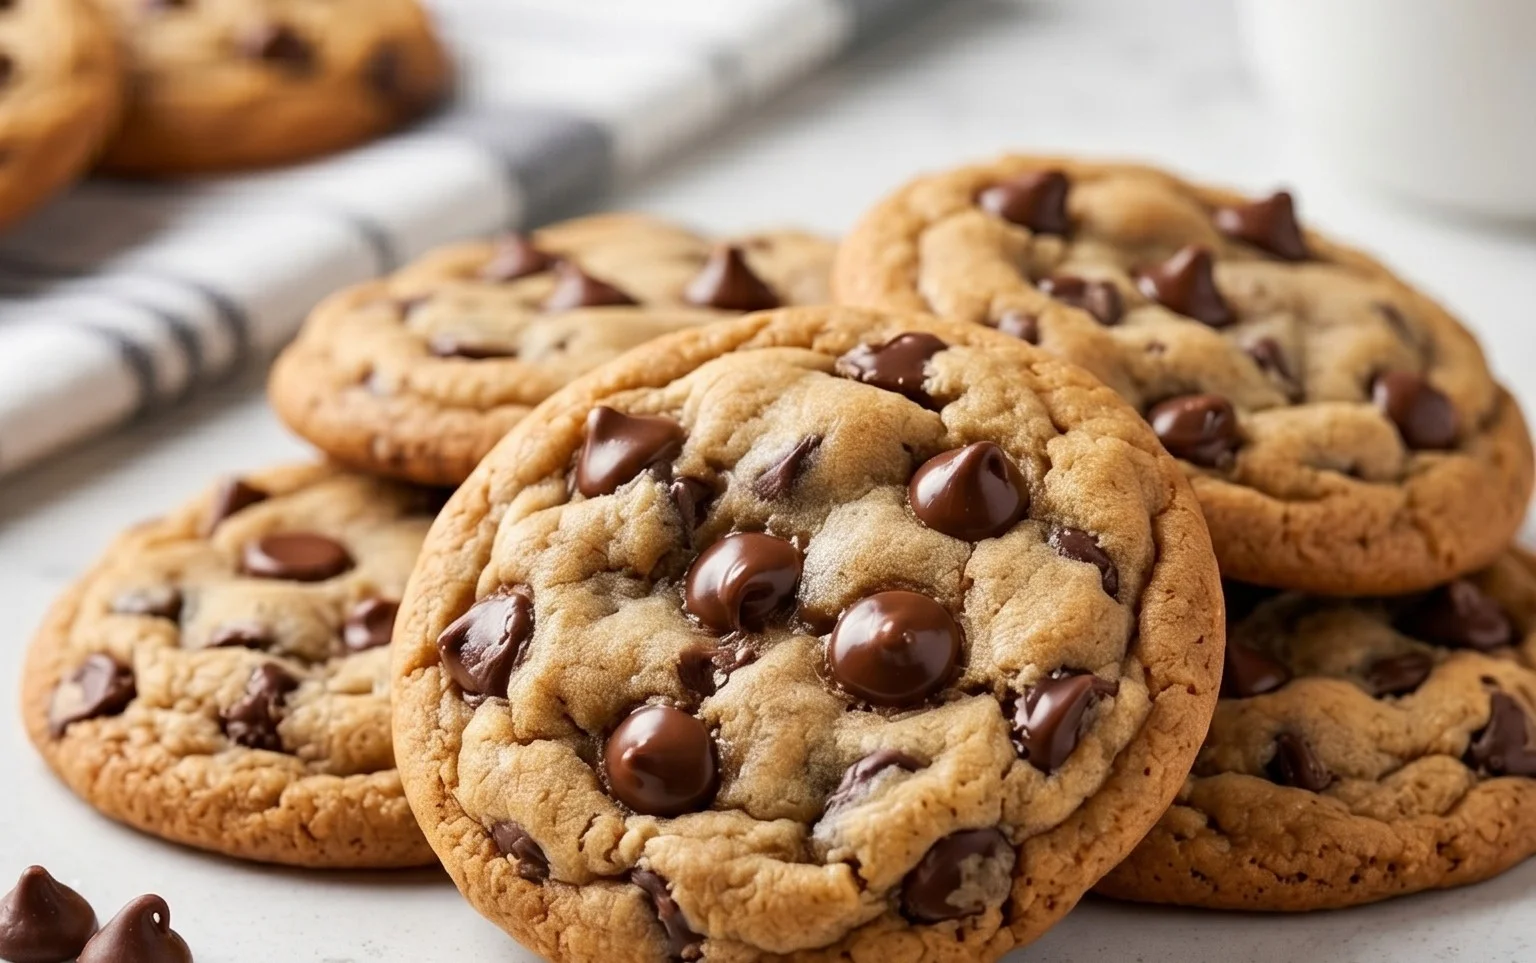
The Best Soft Chocolate Chip Cookies
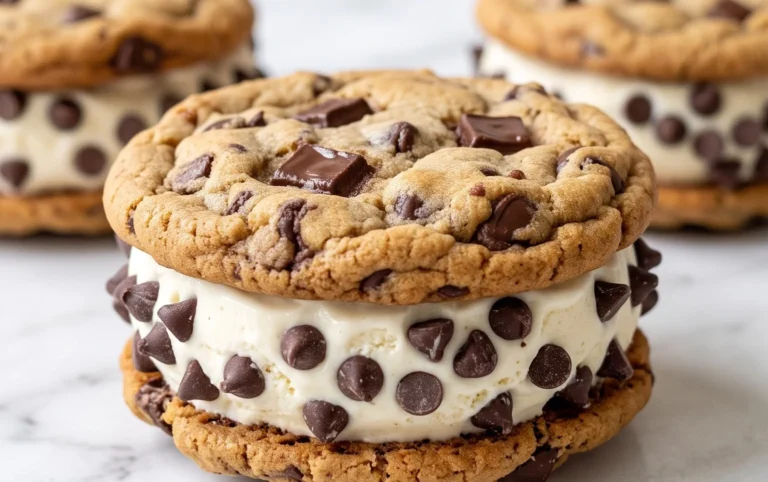
There’s something undeniably magical about a perfectly soft, chewy chocolate chip cookie. The kind that offers a satisfying resistance as you bite into it, yielding to a gooey, chocolatey center. After years of experimenting, countless batches, and a dedicated quest for cookie perfection, I’ve finally landed on the recipe. This is my go-to, my crowd-pleaser, the cookie that disappears from the plate faster than you can say “chocolate chip.” The secret, I’ve found, lies in a few key techniques and the right balance of ingredients that create that irresistible texture and flavor. Forget flat, crispy cookies; we’re aiming for plump, golden-edged perfection with a tender, melt-in-your-mouth interior.
Let’s dive into what makes these cookies so special. It’s not just about throwing ingredients together; it’s about understanding how they interact and contribute to the final masterpiece. The combination of sugars, the temperature of the butter, the resting time of the dough – these all play crucial roles. And, of course, the chocolate! I’m a firm believer in using a mix of chips and chunks for varied texture and pockets of molten chocolate throughout.
Ingredients:
Making the Magic Happen: Step-by-Step Instructions
Phase 1: Creaming the Foundation
1. Prepare the Butter and Sugars: This is arguably the most critical step for achieving a soft cookie. Start by ensuring your butter is softened but not melted. You want it to be yielding to the touch, not greasy or liquid. Place the 8 tablespoons of softened salted butter into a large mixing bowl. Add the 1/2 cup of white sugar (I love using raw cane sugar here for its slight crunch and caramel notes) and the 1/4 cup of packed light brown sugar. Using an electric mixer (or a sturdy whisk and a lot of arm power!), cream these ingredients together until they are light and fluffy. This process incorporates air into the mixture, which contributes to the cookie’s rise and tender texture. Don’t rush this; it should take about 3-5 minutes of beating. The mixture should look pnon-alcoholic ale yellow and significantly increased in volume.
Phase 2: Building the Dough
2. Incorporate Wet Ingredients: Once your butter and sugar mixture is perfectly creamed, it’s time to add the wet ingredients. Add the 1 teaspoon of vanilla extract to the bowl. This adds that classic cookie aroma and flavor that we all know and love. Next, crack in 1 large egg. Beat the mixture again until the egg is fully incorporated and the batter is smooth and homogenous. It might look a little curdled at first, but keep beating, and it will come together beautifully.
3. Combine Dry Ingredients: In a separate medium-sized bowl, whisk together the 1 1/2 cups of all-purpose flour (which is approximately 6.75 ounces), the 1/2 teaspoon of baking soda, and the 1/4 teaspoon of salt. I personally like to add just a tiny pinch more salt than the recipe calls for; I find it really enhances the sweetness and chocolate flavors. Whisking these dry ingredients together ensures that the baking soda and salt are evenly distributed throughout the flour, preventing pockets of saltiness or uneven leavening in your cookies.
Phase 3: Bringin extractg it all Together
4. Marrying Wet and Dry: Now, gradually add the dry ingredients to the wet ingredients. It’s best to do this in stages. Add about half of the dry mixture to the butter-sugar-egg mixture and mix on low speed until just combined. Then, add the remaining dry ingredients and continue mixing until no streaks of flour remain. Be careful not to overmix here! Overmixing develops the gluten in the flour, which can lead to tougher cookies. You want to mix just until everything is incorporated. The dough will be thick and slightly sticky.
5. The Chocolatey Goodness: This is where the fun really begin extracts! Gently fold in your 3/4 cup of chocolate chips. I highly recommend using a combination of both classic chocolate chips and some larger chocolate chunks. The chips will melt into gooey pockets, while the chunks create delightful little rivers of molten chocolate. Stir them in by hand with a spatula until they are evenly distributed throughout the dough. Don’t overmix; just ensure every part of the dough gets its fair share of chocolate.
Phase 4: The Chill and Bake
6. Chill for Perfection: This step is non-negotiable for achieving that perfect soft and chewy texture. Cover the bowl tightly with plastic wrap and refrigerate the cookie dough for at least 30 minutes, or ideally, for 1-2 hours. This chilling period allows the fats in the butter to solidify, which prevents the cookies from spreading too much in the oven. It also allows the flavors to meld together, resulting in a more complex and delicious cookie. You can even make the dough a day in advance and keep it in the refrigerator.
7. Baking to Golden Perfection: Preheat your oven to 375°F (190°C). Line baking sheets with parchment paper. This is essential for easy cleanup and to prevent sticking. Scoop rounded tablespoons of dough onto the prepared baking sheets, leaving about 2 inches of space between each cookie. They will spread as they bake. Bake for 9-12 minutes, or until the edges are lightly golden brown and the centers still look slightly underbaked. They will continue to set up as they cool. For extra-chewy cookies, err on the side of underbaking.
Phase 5: The Final Flourish
8. Cooling and Enjoying: Let the cookies cool on the baking sheets for about 5 minutes before carefully transferring them to a wire rack to cool completely. This is important because they are very delicate when they first come out of the oven. The residual heat will continue to cook them slightly on the baking sheet, helping them set up perfectly. Once they’ve cooled, enjoy them with a glass of milk, a cup of coffee, or simply on their own. They are best enjoyed fresh, but will keep in an airtight container at room temperature for several days, if they last that long!
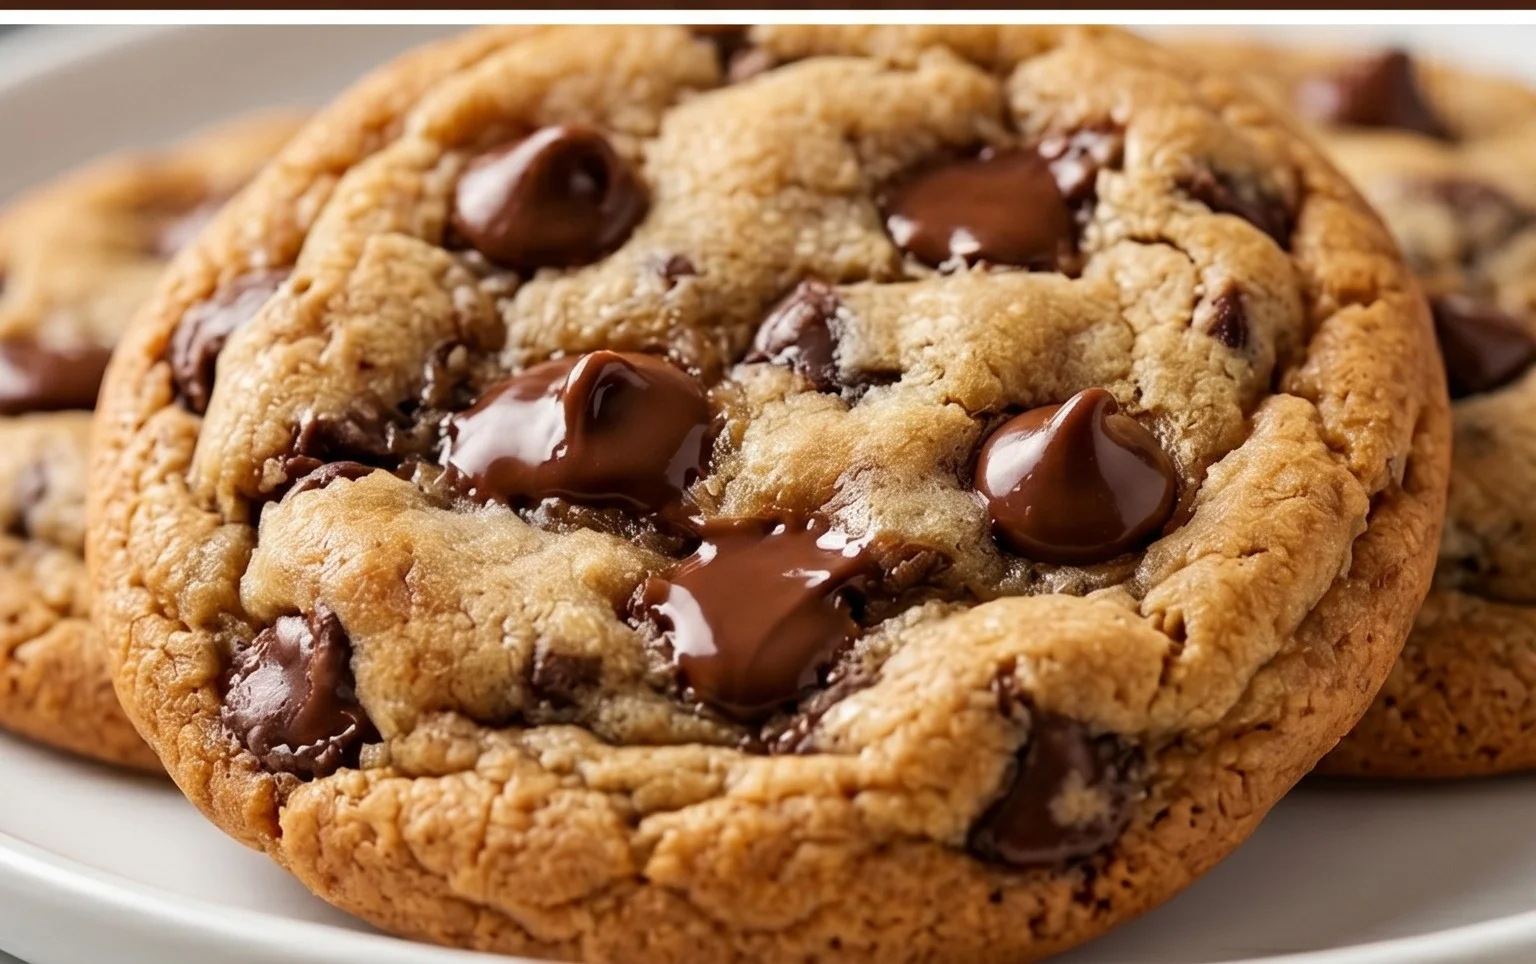
Conclusion:
And there you have it – the definitive guide to crafting the best soft chocolate chip cookies you’ll ever taste! We’ve explored the secrets behind their irresistibly chewy center and perfectly crisp edges, all thanks to a balance of simple ingredients and precise techniques. These cookies aren’t just a dessert; they’re a warm hug, a nostalgic trip, and a guaranteed crowd-pleaser. Don’t hesitate to dive in and experience cookie perfection for yourself!
Imagin extracte these warm beauties served with a tall glass of cold milk, or even better, alongside a scoop of vanilla ice cream for an ultimate indulgence. They’re also fantastic for gifting, sharing at potlucks, or simply enjoying as a personal treat. Feeling adventurous? Consider adding a sprinkle of sea salt on top before baking for a delightful sweet and salty contrast, or stir in a handful of chopped nuts like walnuts or pecans for added texture and flavor. No matter how you enjoy them, I encourage you to try this recipe. You won’t be disappointed!
Frequently Asked Questions:
How do I ensure my cookies stay soft?
The key to soft chocolate chip cookies lies in a few things: not overmixing your dough, slightly underbaking them so they continue to set as they cool, and storing them in an airtight container once they’ve completely cooled. Don’t let them sit out uncovered for too long!
Can I freeze the cookie dough?
Absolutely! This dough freezes beautifully. Portion it out into individual cookie-sized balls and place them on a baking sheet to freeze until solid. Then, transfer the frozen dough balls to a freezer-safe bag or container. When you’re ready to bake, you can bake them directly from frozen, adding a few extra minutes to the baking time.
What kind of chocolate chips are best?
While semi-sweet are classic, don’t be afraid to experiment! High-quality chocolate chips or chunks will make a noticeable difference. Try milk chocolate for a sweeter cookie, dark chocolate for a richer flavor, or even a mix of different varieties. I personally love using a combination of semi-sweet and dark chocolate chunks for the best of both worlds.
The Best Soft Chocolate Chip Cookies
Deliciously soft and chewy chocolate chip cookies, perfect for any occasion.
Ingredients
-
8 tablespoons salted butter, softened
-
1/2 cup white sugar (raw cane sugar)
-
1/4 cup packed light brown sugar
-
1 teaspoon vanilla extract
-
1 large egg
-
1 1/2 cups all purpose flour (6.75 ounces)
-
1/2 teaspoon baking soda
-
1/4 teaspoon salt
-
3/4 cup chocolate chips (combination of chips and chunks)
Instructions
-
Step 1
Preheat oven to 375 degrees F (190 degrees C). Line baking sheets with parchment paper. -
Step 2
In a large bowl, cream together the softened butter, white sugar, and brown sugar until light and fluffy. -
Step 3
Beat in the vanilla extract and egg until well combined. -
Step 4
In a separate medium bowl, whisk together the flour, baking soda, and salt. -
Step 5
Gradually add the dry ingredients to the wet ingredients, mixing until just combined. Do not overmix. -
Step 6
Stir in the chocolate chips and chocolate chunks. -
Step 7
Drop rounded tablespoons of dough onto the prepared baking sheets, spacing them about 2 inches apart. -
Step 8
Bake for 9 to 11 minutes, or until the edges are golden brown and the centers are still slightly soft. -
Step 9
Let the cookies cool on the baking sheets for a few minutes before transferring them to a wire rack to cool completely.
Important Information
Nutrition Facts (Per Serving)
It is important to consider this information as approximate and not to use it as definitive health advice.
Allergy Information
Please check ingredients for potential allergens and consult a health professional if in doubt.