Easy Lemon Truffles-Delightful Zesty Treat
Lemon truffles are a delightful burst of sunshine in every bite, and I’m so excited to share this recipe with you! If you’re searching for a treat that’s both elegant and incredibly easy to make, look no further. These little spheres of joy perfectly capture the bright, zesty essence of fresh lemons, balanced by the rich creaminess of white chocolate. It’s no wonder people absolutely adore lemon truffles; they’re a refreshing departure from the usual chocolate-heavy confections and offer a sophisticated yet utterly comforting sweetness. What makes these particular lemon truffles so special is their vibrant flavor profile that awakens the palate without being overpowering. They’re ideal for gifting, serving at gatherings, or simply indulgin extractg in a moment of pure bliss. Get ready to impress yourself and your loved ones with these irresistible gems.
Why You’ll Love These Lemon Truffles
A Zesty Escape
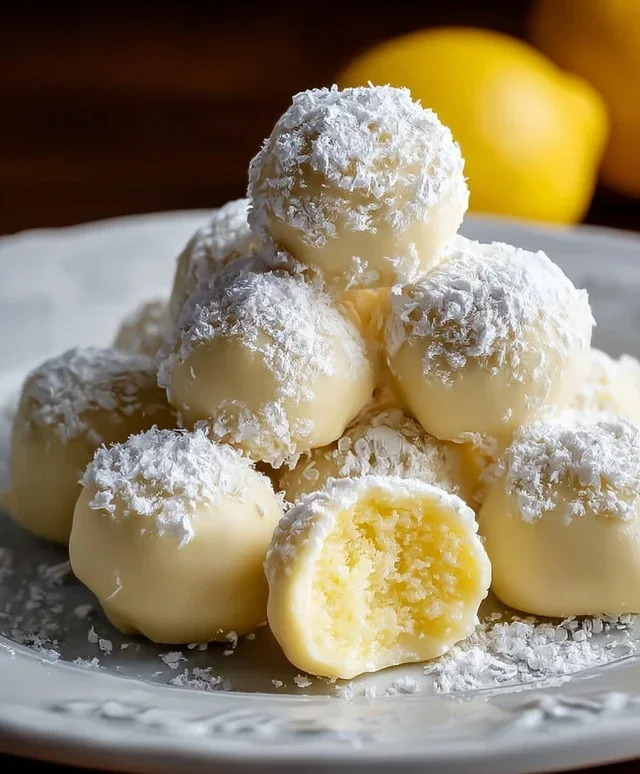
Lemon Truffles
There’s something truly magical about a homemade truffle. They offer that perfect bite of decadent sweetness, and when you add the bright, zesty punch of lemon, you elevate them to a whole new level. These Lemon Truffles are incredibly easy to make, requiring no baking and minimal ingredients. They’re perfect for a special occasion, a thoughtful gift, or simply a delightful treat to brighten your day. The creamy, tangy center is a delightful surprise, and the optional white chocolate coating adds an extra layer of indulgence. Let’s get started on creating these sunshine-infused confections!
Ingredients:
Making the Lemon Truffle Base
The foundation of our lemon truffles is a simple yet incredibly effective mixture that creates a smooth, rich, and wonderfully dippable center. This step is crucial for achieving that melt-in-your-mouth texture we all love in a truffle.
Forming and Chilling the Truffles
Once your lemon truffle base is perfectly blended, it’s time to transform it into those delightful little spheres. Chilling is a vital step to make the mixture firm enough to handle and roll without becoming a sticky mess.
Optional White Chocolate Coating
For those who love an extra layer of sweetness and a beautiful finish, a white chocolate coating is the perfect addition. It contrasts beautifully with the tangy lemon center.
Conclusion:
I hope you’ve enjoyed this journey into creating these delightful Lemon Truffles! They truly are a showstopper, offering a perfect balance of creamy sweetness and bright, zesty lemon flavor. The simplicity of the recipe makes them accessible even for begin extractner bakers, yet the result is sophisticated enough to impress any guest. Whether you’re looking for a homemade gift, a special dessert for a gathering, or simply a little treat to brighten your day, these lemon truffles are an excellent choice. I encourage you to give them a try – you won’t be disappointed! They are perfect served chilled as a palate cleanser after a rich meal, or alongside a cup of tea or coffee. Feel free to experiment with different coatings, like toasted coconut or finely chopped pistachios, for added texture and flavor.
Frequently Asked Questions:
Can I make these lemon truffles ahead of time?
Absolutely! These lemon truffles are ideal for making ahead. Once rolled and coated, store them in an airtight container in the refrigerator for up to a week. They tend to firm up even more in the fridge, which can make them easier to handle and enjoy.
What kind of white chocolate is best for lemon truffles?
For the best results and a smooth, creamy texture, I recommend using a good quality white chocolate. Look for brands that list cocoa butter as a primary ingredient, rather than vegetable oil. This will ensure your lemon truffles melt beautifully and set up nicely.
How can I make my lemon truffles extra lemony?
If you love a stronger lemon flavor, you can increase the amount of lemon zest slightly, or add a tiny splash of lemon extract to the white chocolate mixture. Be careful not to add too much liquid, as this can affect the truffle’s consistency. Tasting the mixture before it cools is always a good idea to adjust to your preference.
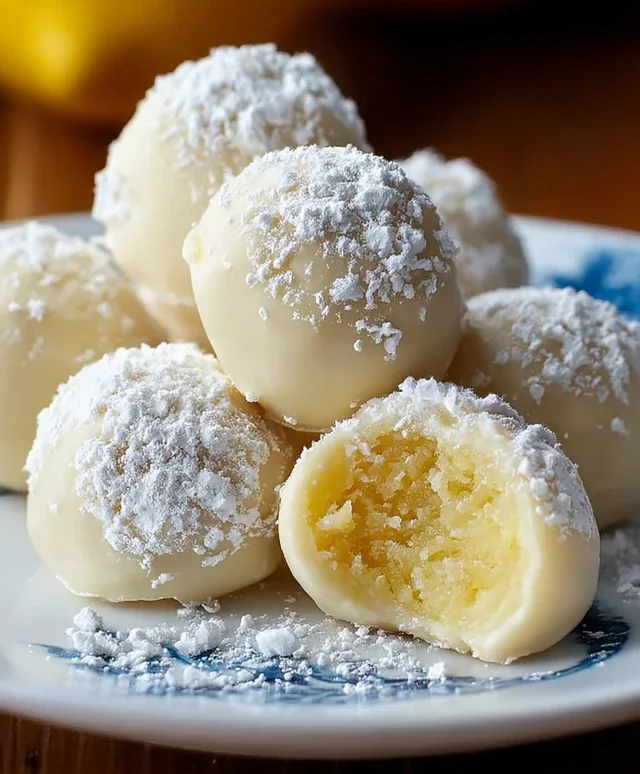
Lemon Truffles
Delightful, tangy lemon truffles made with cream cheese and lemon zest.
Ingredients
-
4 oz cream cheese, softened
-
2 tbsp butter, softened
-
3 tbsp powdered sugar
-
Zest of one lemon
-
3 oz white chocolate chips
-
Optional drop of natural food coloring for color
Instructions
-
Step 1
In a medium bowl, beat together the softened cream cheese and butter until smooth. -
Step 2
Stir in the powdered sugar and lemon zest until well combined. -
Step 3
If using, gently fold in the white chocolate chips and food coloring until evenly distributed. -
Step 4
Chill the mixture in the refrigerator for at least 30 minutes, or until firm enough to roll. -
Step 5
Roll the chilled mixture into small balls, about 1-inch in diameter. -
Step 6
Place the rolled truffles on a parchment-lined baking sheet and chill for another 15 minutes before serving.
Important Information
Nutrition Facts (Per Serving)
It is important to consider this information as approximate and not to use it as definitive health advice.
Allergy Information
Please check ingredients for potential allergens and consult a health professional if in doubt.