Easy Strawberry Sando Four Ingredients
The 4-ingredient Strawberry Sando is a delightful culinary creation that embodies simplicity and pure joy. Who doesn’t adore the sweet, vibrant burst of fresh strawberries nestled between pillowy soft bread? It’s a dessert (or snack!) that instantly transports me back to sun-drenched afternoons and effortless indulgence. The magic of this 4-ingredient Strawberry Sando lies in its unassuming nature. With just a handful of pantry staples, you can whip up something truly special. It’s the perfect answer for those moments when you crave a sweet treat but don’t have the time or inclination for complex baking. This minimalist marvel proves that sometimes, less truly is more, allowing the star ingredient – those luscious strawberries – to shine with unadulterated deliciousness.
Why This Recipe is a Game-Changer
Effortless Elegance
The Ultimate 4-Ingredient Strawberry Sando: A Taste of Pure Bliss
Sometimes, the most delightful treats are the simplest. And when it comes to simple yet incredibly satisfying desserts, the Japanese Strawberry Sando, or Ichigo Sando, reigns supreme. This iconic treat, often found in convenience stores and cafes across Japan, is a testament to the power of a few high-quality ingredients coming together in perfect harmony. Today, we’re going to recreate this magic with just four, yes, four essential ingredients, bringin extractg a burst of sweet, creamy, and fruity goodness right into your kitchen. Forget complicated recipes; this is all about pure, unadulterated flavor.
This recipe is perfect for those moments when you crave something sweet but don’t have a lot of time or ingredients on hand. It’s also a wonderful way to introduce yourself to the simple elegance of Japanese-inspired desserts. The beauty lies in the texture contrasts: the soft, pillowy bread, the luscious whipped cream, and the juicy, slightly tart strawberries. It’s a symphony for your taste buds!
Ingredients:
Crafting Your Strawberry Sando: Step-by-Step
This recipe is wonderfully straightforward, but taking your time with each step will ensure the best possible result. We want a sando that is not only delicious but also visually appealing, like a little edible work of art.
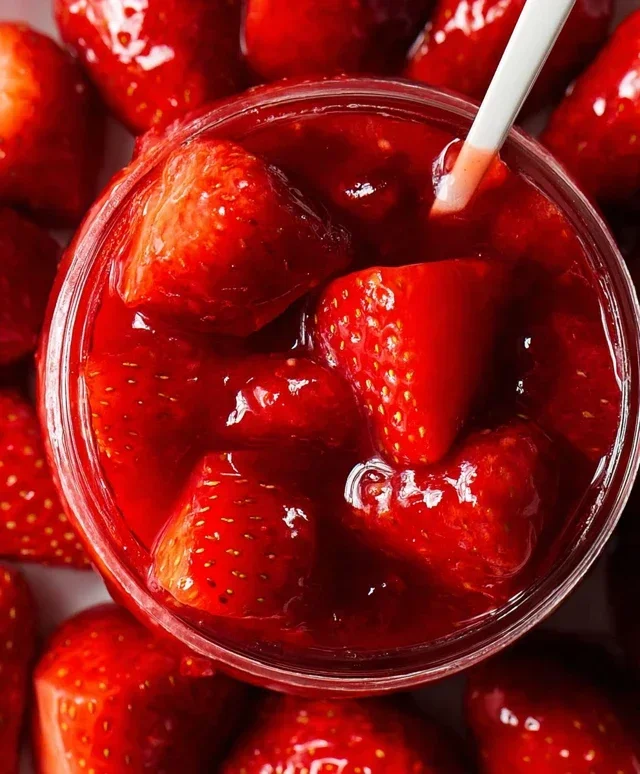
Step 1: Prepare the Strawberries – The Heart of the Sando
First things first, let’s get our star fruit ready. Take your five fresh strawberries and gently rinse them under cool water. Pat them completely dry with a paper towel. This is an important step; excess moisture can make the bread soggy. Once dry, carefully remove the green leafy tops. Now, for the exciting part: thinly slice the strawberries. Aim for slices that are about ¼ inch thick. We want them thin enough to distribute evenly throughout the sando, but not so thin that they turn to mush. If your strawberries are particularly large, you might even be able to get more than 10 slices. Set these beautiful strawberry slices aside.
Step 2: Sweeten the Strawberries – A Subtle Enhancement
Now, let’s give our strawberries a little extra love. In a small bowl, combine the sliced strawberries with the 1 tablespoon of white granulated sugar. Gently toss them together. The sugar will begin extract to draw out some of the natural juices from the strawberries, creating a delightful, lightly syrupy mixture. This also helps to slightly soften the strawberries, making them even more tender within the sando. Let this mixture sit for about 5-10 minutes while you prepare the cream. This brief maceration is key to intensifying the strawberry flavor without overwhelming it.
Step 3: Whip the Cream – Cloud-Like Perfection
This is where the magic really starts to happen. In a clean, chilled bowl, pour in your ½ cup of cold whipping cream. If you’re using a stand mixer with a whisk attachment, this will be a breeze. If you’re using a hand mixer or whisking by hand, make sure your bowl and whisk are very clean and cold – this helps the cream whip up more effectively. Begin extract whipping the cream on medium speed. As it starts to thicken and small soft peaks begin extract to form, gradually increase the speed to medium-high. Continue whipping until you achieve stiff peaks. This means that when you lift the whisk or beaters out of the cream, the cream stands up straight and doesn’t curl over. Be careful not to over-whip, or you’ll end up with butter! The goal is a light, airy, and stable whipped cream that will hold its shape beautifully.
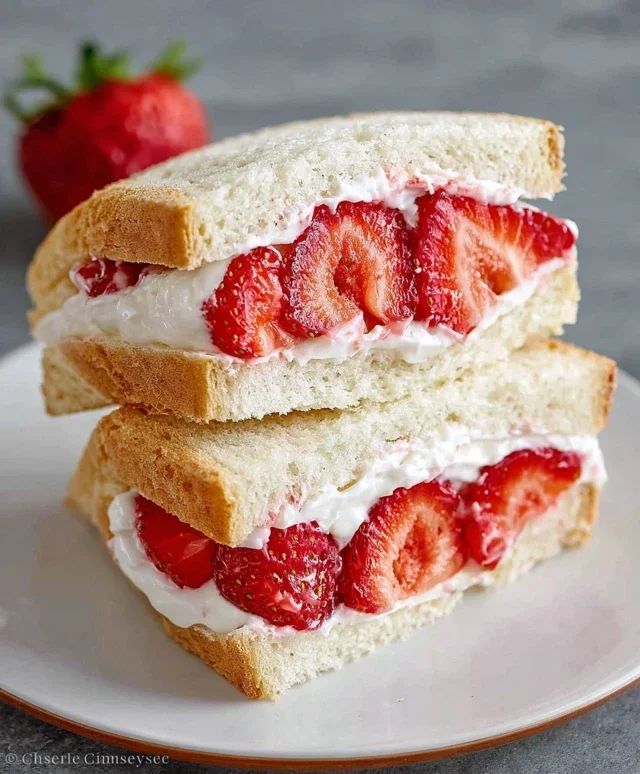
Step 4: Assemble the Sando – Layering for Success
Now it’s time to bring all our components together. Take your two slices of milk bread (or thick white bread). If you’re using a bread with a crust, you can choose to trim it off for a softer, more refined look, but this is entirely optional! I personally love the little textural contrast the crust provides. Lay one slice of bread flat on your work surface. Spread a generous, even layer of your perfectly whipped cream over the entire surface of this bread slice, going all the way to the edges. Don’t be shy with the cream – it’s a significant part of the sando experience!
Next, carefully arrange your sugared strawberry slices over the whipped cream. Try to distribute them evenly so you get a good bite of strawberry in every mouthful. You might have some leftover strawberry syrup; you can drizzle a tiny bit of this over the strawberries for extra moisture and flavor, but don’t let it pool too much. Now, take your second slice of bread and spread another generous layer of whipped cream on one side. This cream side will be placed face down onto the strawberries. Gently place this cream-covered slice of bread on top of the strawberries, pressing down lightly to ensure everything adheres.
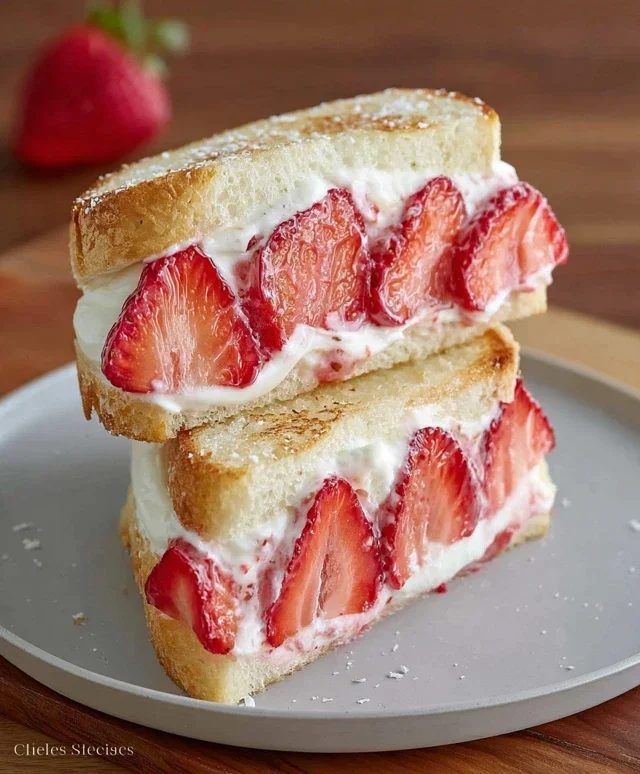
Step 5: The Final Touch – Cutting and Enjoying
This final step is crucial for that authentic sando look. Using a very sharp knife (a serrated knife works wonderfully for this), carefully cut the sandwich in half. You can cut it diagonally to create two neat triangles, or straight down the middle to make two rectangles. The key is to use a clean, decisive cut to avoid squishing the filling out. For the cleanest cut, you can even dip your knife in hot water and wipe it dry before each slice, or gently press down as you cut. And there you have it – your beautiful, homemade 4-ingredient Strawberry Sando! It’s a simple pleasure, but one that will bring a smile to your face with every bite. Enjoy this delightful treat immediately for the best texture and flavor.
Notes on Variations and Tips
This 4-ingredient Strawberry Sando is more than just a dessert; it’s an experience. It’s a reminder that sometimes, the most profound flavors come from the simplest of preparations. Enjoy the process, and more importantly, enjoy the delicious outcome!
Conclusion:
There you have it – the incredibly simple yet utterly delightful 4-ingredient Strawberry Sando! This recipe is a testament to how a few high-quality ingredients can come together to create something truly special. It’s the perfect sweet treat when you’re craving something light, refreshing, and incredibly satisfying. The vibrant burst of fresh strawberries, complemented by the creamy sweetness of the whipped cream and the soft embrace of the bread, makes this sando a guaranteed crowd-pleaser, whether served at a casual afternoon tea, a quick dessert, or even as a fun breakfast option. Don’t hesitate to experiment with variations; the possibilities are as boundless as your imagin extractation!
For serving, consider dusting with a little powdered sugar for an extra touch of elegance, or pair it with a delicate herbal tea or a chilled glass of sparkling water. You can also elevate it further by adding a sprig of fresh mint. Don’t be afraid to get creative! This 4-ingredient Strawberry Sando is wonderfully versatile. I truly encourage you to give this recipe a try; I’m confident you’ll love how easy it is to whip up this little taste of sunshine.
Frequently Asked Questions:
Can I use frozen strawberries instead of fresh?
While fresh strawberries offer the best texture and flavor, you can use thawed frozen strawberries. Ensure they are well-drained to prevent the sando from becoming soggy. You might want to lightly mash them for a more jam-like consistency.
What kind of bread works best for this 4-ingredient Strawberry Sando?
Soft, slightly sweet breads like brioche, challah, or even plain white sandwich bread are ideal. The key is a bread that is tender and won’t overpower the delicate flavors of the strawberries and cream. Avoid hearty or crusty breads.
Can I make this strawberry sando ahead of time?
It’s best to assemble the strawberry sando just before serving for the freshest taste and optimal texture. The bread can become soggy if prepared too far in advance, especially with the moisture from the strawberries and cream.
4-Ingredient Strawberry Sando
A simple and delicious Japanese-inspired strawberry sandwich made with just four ingredients: soft bread, fresh strawberries, sugar, and whipped cream.
Ingredients
-
2 thick slices milk bread (or regular thick white bread, like Texas toast)
-
5 strawberries (with tops removed)
-
1 tbsp white granulated sugar
-
1/2 cup whipping cream (or heavy cream chilled)
-
1/4 cup powdered sugar (optional, for dusting)
-
1 tsp vanilla extract (optional, for cream)
Instructions
-
Step 1
Slice the strawberries thinly. If they are very large, you can cut them in half lengthwise first before slicing. -
Step 2
In a small bowl, gently toss the sliced strawberries with 1 tbsp of white granulated sugar. Let them sit for about 5 minutes to macerate. -
Step 3
In a separate chilled bowl, whip the 1/2 cup of whipping cream until soft peaks form. You can add 1 tsp of vanilla extract for extra flavor if desired. -
Step 4
Lay out the two slices of milk bread. Spread a generous layer of whipped cream on one slice of bread. -
Step 5
Arrange the sugared strawberry slices evenly over the whipped cream. Try to layer them neatly. -
Step 6
Spread another layer of whipped cream on top of the strawberries. Place the second slice of bread on top, cream-side down. -
Step 7
Gently press the sandwich together. For a cleaner cut, you can dust the top with 1/4 cup of powdered sugar, then carefully slice the sandwich in half diagonally or in desired shapes.
Important Information
Nutrition Facts (Per Serving)
It is important to consider this information as approximate and not to use it as definitive health advice.
Allergy Information
Please check ingredients for potential allergens and consult a health professional if in doubt.