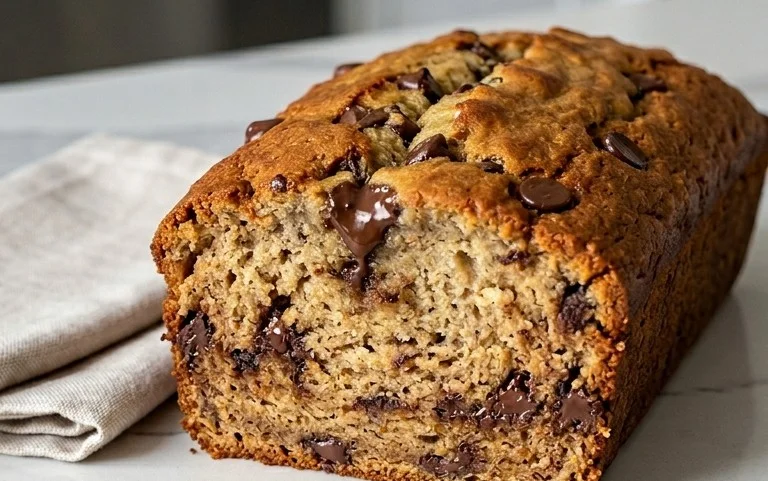
Easy Scones Recipe – Perfect Fluffy Baked Treats
Scones Recipe: The quintessential treat that evokes cozy mornings, afternoon tea, and pure comfort. There’s something undeniably magical about a perfectly baked scone. It’s the delicate crum extractb that gives way to a slight chew, the buttery aroma that fills your kitchen, and the delightful versatility that makes it a beloved classic. Why do we adore scones so much? Perhaps it’s the simplicity of the ingredients, the satisfying ritual of making them from scratch, or the sheer joy of transforming flour, butter, and milk into something so wonderfully satisfying. This scones recipe aims to capture that very essence, offering you a path to creating flaky, tender, and utterly delicious scones that will have everyone asking for seconds. They are more than just a baked good; they’re a warm embrace, a moment of quiet indulgence, and a testament to the simple pleasures of home baking.

Simple & Delicious Scones Recipe
There’s something incredibly comforting and satisfying about a perfectly baked scone. Golden brown on the outside, wonderfully tender and slightly crum extractbly on the inside, these delights are perfect for a leisurely breakfast, a delightful afternoon tea, or even a simple sweet treat any time of day. This recipe is my go-to for fuss-free, incredibly tasty scones that you can customize with your favorite mix-ins. Whether you’re a seasoned baker or just starting out, you’ll find these instructions easy to follow, and the results will have everyone asking for more.
Ingredients:
Getting Started: Preparing Your Dough
The key to tender scones lies in handling the dough minimally and ensuring your ingredients, especially the butter and cream, are cold. This helps create those lovely flaky layers we all crave.
First things first, let’s get our dry ingredients ready. In a large mixing bowl, whisk together the all-purpose flour, granulated sugar, baking powder, and salt. Give it a good stir to ensure everything is evenly distributed. This step is crucial for consistent leavening and flavor throughout your scones.
Now, it’s time for the butter. Add the chilled, cubed unsalted butter to the dry ingredients. Using a pastry blender, your fingertips, or a food processor on a pulse setting, cut the butter into the flour mixture until it resembles coarse crum extractbs with some pea-sized pieces of butter still visible. These little pockets of butter are what will melt during baking, creating steam and contributing to the scone’s tender, flaky texture. Don’t overwork the mixture; a few larger butter pieces are a good thing!
In a separate small bowl, whisk together the ½ cup plus 1 tablespoon of chilled heavy cream and the lightly beaten large egg. Make sure the cream is nice and cold; this is as important as the butter.
Forming and Baking Your Scones
Now for the magic that brings everything together. Make a well in the center of your dry ingredients. Pour the wet ingredients into this well. Gently stir with a fork or a rubber spatula until just combined. The dough will be shaggy and a little sticky. This is exactly what you want! Overmixing will develop the gluten in the flour too much, resulting in tough scones. Resist the urge to keep stirring until it’s perfectly smooth.
If you’re adding mix-ins like berries or chocolate chips, gently fold them in now. Be careful not to crush delicate berries. The dough should still be a bit lumpy and uneven.
Turn the dough out onto a lightly floured surface. Gently pat the dough together into a rough disc about ¾ to 1 inch thick. Again, avoid overworking the dough. If it’s too sticky, lightly flour your hands.
Using a sharp knife or a bench scraper, cut the disc into 8 wedges, like cutting a pizza. Alternatively, you can use a round biscuit cutter to create individual scones. If you’re using a cutter, press straight down without twisting to ensure a clean edge that will help your scones rise evenly.
Place the scones on a baking sheet lined with parchment paper, leaving a little space between each one. For an extra golden and shiny finish, brush the tops of your scones with a little extra heavy cream. This is an optional but highly recommended step for that beautiful bakery-like appearance.
Baking to Perfection
Preheat your oven to 400°F (200°C). This initial high heat helps the scones rise quickly.
Bake for 15-20 minutes, or until the scones are beautifully golden brown on top and a toothpick inserted into the center comes out clean. The exact baking time will depend on your oven and the size of your scones. Keep an eye on them, especially towards the end of the baking time, to prevent them from burning.
Once baked, remove the scones from the oven and transfer them to a wire rack to cool slightly. They are best enjoyed warm, ideally within a day of baking. Serve them with clotted cream and jam, or simply enjoy them as they are. The tender crum extractb and subtle sweetness make them a perfect canvas for your favorite toppings. These scones are a simple pleasure that brings a touch of homemade goodness to any occasion. Enjoy every delicious bite!

Conclusion:
I hope you’ve enjoyed learning how to make these delightful scones! This recipe is truly wonderful because it delivers perfectly fluffy, tender, and slightly sweet scones every single time. They are surprisingly easy to whip up, making them an ideal treat for a leisurely weekend brunch, an afternoon tea, or even a quick homemade breakfast. The magic lies in using cold ingredients and not overworking the dough, which ensures that lovely lightness you crave. I encourage you to give this scone recipe a try – I’m confident you’ll be delighted with the results!
These versatile scones are fantastic served warm with your favorite toppings. Think generous dollops of clotted cream and sweet strawberry jam for a classic cream tea experience. Alternatively, a drizzle of honey, some lemon curd, or even a sprinkle of fresh berries works beautifully. Don’t be afraid to get creative with variations! You can fold in fresh or dried fruit like blueberries, cranberries, or raisins. For a more decadent twist, add chocolate chips or a hint of orange zest to the dough. The possibilities are truly endless!
Frequently Asked Questions:
Why are my scones dense?
Dense scones are usually a result of overworking the dough or using ingredients that aren’t cold enough. When you mix the dough too much, you develop the gluten more, leading to a tougher texture. Ensure your butter, milk, and even your flour are chilled before you start. Gently bring the dough together until it just forms a cohesive mass.
Can I make scones ahead of time?
Yes, you can! You can prepare the dough and then cover it tightly and refrigerate it for up to 24 hours before baking. You can also bake the scones and then cool them completely before storing them in an airtight container at room temperature for a day or two, or freeze them for longer storage. Reheat gently in the oven to enjoy them as if they were freshly baked.
What’s the difference between a scone and a biscuit?
While often used interchangeably, there are subtle differences. American biscuits are typically softer, flakier, and often made with buttermilk, relying on steam from the liquid to create layers. Scones, particularly the British style, are usually a bit denser and sweeter, often enriched with eggs and sometimes cream, resulting in a tender, cake-like crum extractb.
Classic Scones Recipe
A simple and delicious recipe for classic scones, perfect for breakfast or a tea-time treat. Easily customizable with your favorite mix-ins.
Ingredients
-
6 tablespoons unsalted butter
-
2 cups all-purpose flour
-
⅓ cup granulated sugar
-
1 tablespoon baking powder
-
½ teaspoon salt
-
½ cup plus 1 tablespoon heavy cream
-
1 large egg (lightly beaten)
-
up to 1 cup total mix-ins, as desired, such as fresh blueberries, chopped fresh cranberries, mini chocolate chips, dried cranberries or currants
Instructions
-
Step 1
Preheat your oven to 400°F (200°C). Line a baking sheet with parchment paper. -
Step 2
In a large bowl, whisk together the all-purpose flour, granulated sugar, baking powder, and salt. -
Step 3
Cut the cold unsalted butter into small pieces and add it to the dry ingredients. Use a pastry blender or your fingertips to work the butter into the flour until the mixture resembles coarse crumbs. -
Step 4
In a separate small bowl, lightly beat the large egg with the ½ cup plus 1 tablespoon of heavy cream. Pour the wet ingredients into the dry ingredients and mix gently until just combined. Be careful not to overmix. -
Step 5
Gently fold in your chosen mix-ins, if using. -
Step 6
Turn the dough out onto a lightly floured surface and gently pat it into a disk about ¾-inch thick. Cut out scones using a biscuit cutter or knife. -
Step 7
Place the scones on the prepared baking sheet. Brush the tops with a little extra heavy cream for a golden finish. -
Step 8
Bake for 12-15 minutes, or until golden brown and risen.
Important Information
Nutrition Facts (Per Serving)
It is important to consider this information as approximate and not to use it as definitive health advice.
Allergy Information
Please check ingredients for potential allergens and consult a health professional if in doubt.