Delicious Dairy-Free Pesto Recipe- Easy & Flavorful
Dairy Free Pesto is about to revolutionize your pasta nights and appetizer platters. For years, I’ve been searching for that perfect, vibrant green pesto that doesn’t compromise on that classic, nutty, herby flavor, and I’ve finally cracked the code. Traditional pesto, with its rich Parmesan, is undeniably delicious, but for those of us navigating dairy sensitivities or simply looking for a lighter option, it often felt like a compromise. Well, no more! This Dairy Free Pesto recipe captures all the essence you crave – the bright basil, the toasted pine nuts, the punchy garlic, and that signature umami – all without a drop of dairy. It’s incredibly versatile, perfect for tossing with your favorite pasta, spreading on crusty bread, or even dolloping onto grilled vegetables or a vibrant salad. Get ready to fall in love with the fresh, zesty magic of this dairy-free gem!
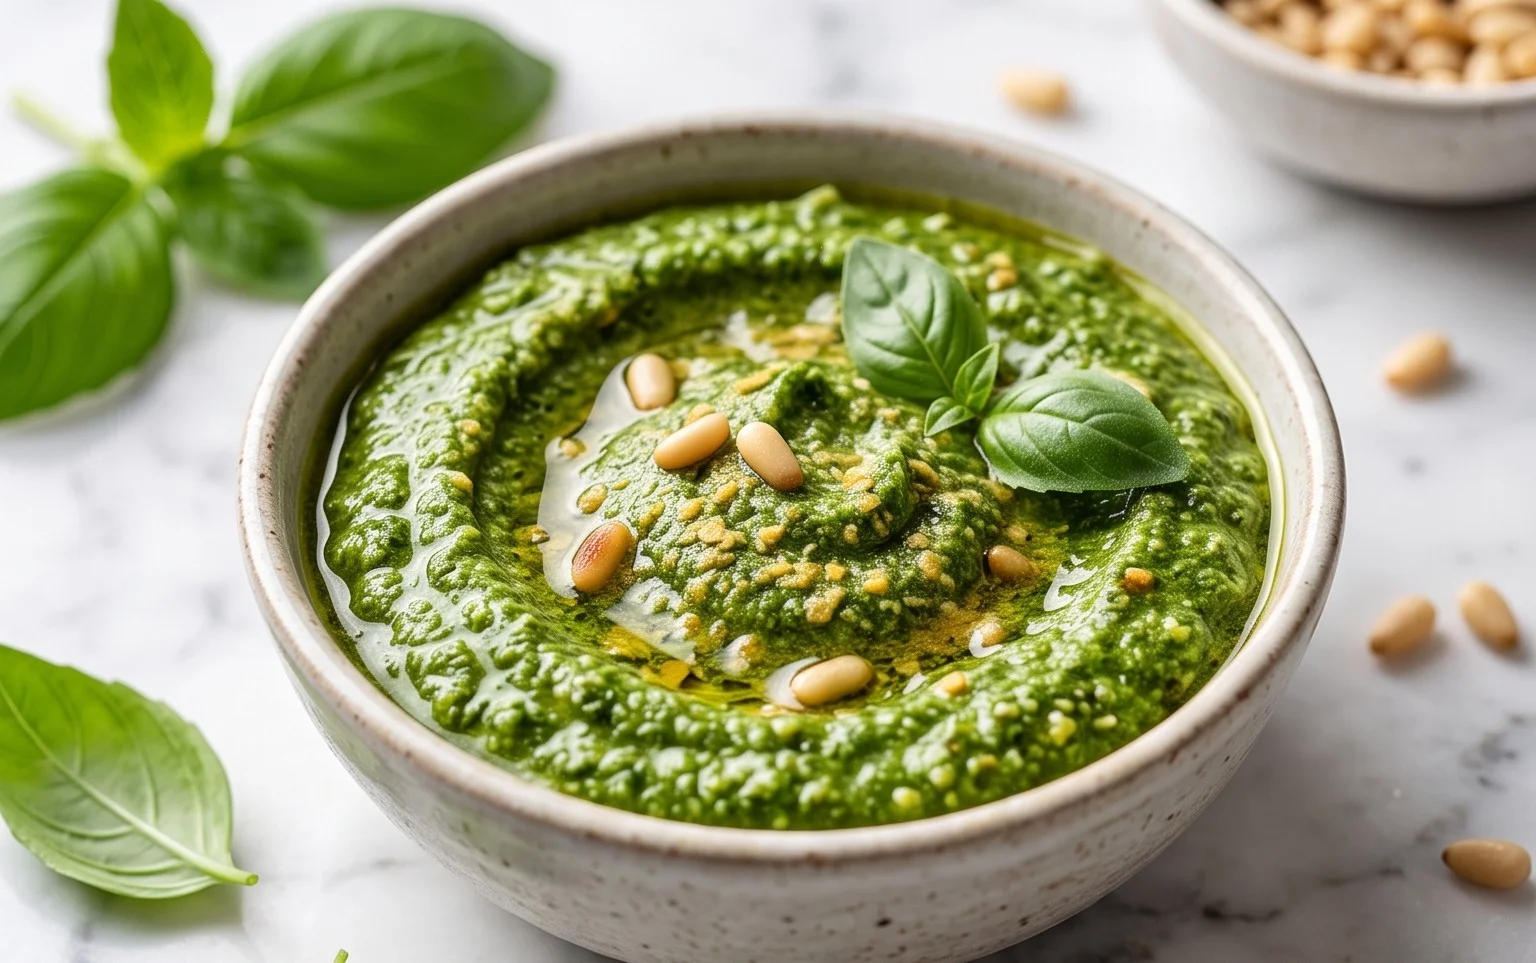
Dairy Free Pesto
Craving that vibrant, herbaceous kick of pesto but need to keep it dairy-free? You’ve come to the right place! This recipe delivers all the classic flavor you love, without any cheese. It’s incredibly versatile, perfect for tossing with pasta, spreading on sandwiches, dolloping onto roasted vegetables, or even using as a base for a quick salad dressing. The beauty of homemade pesto is its freshness and the ability to customize it to your exact preferences. Forget the store-bought stuff; this dairy-free version is a game-changer, and once you try it, you’ll be hooked!
The key to a fantastic pesto is high-quality, fresh ingredients. We’re going to pack in plenty of fragrant basil, a zesty punch from lemon, the rich creaminess of pine nuts, and a hint of garlic. Nutritional yeast adds a delightful “cheesy” umami flavor that truly elevates this dairy-free rendition, mimicking the savory depth often provided by Parmesan. If you don’t have nutritional yeast on hand, or simply prefer a different nutty profile, feel free to experiment with other nuts or seeds. The result is a bright, flavorful sauce that’s surprisingly simple to make.
Ingredients:
Cooking Instructions:
Let’s get started on making this delicious dairy-free pesto. The process is wonderfully straightforward, and you can achieve fantastic results with just a few simple steps. The most crucial part is using fresh, vibrant basil. Look for bright green, unblemished leaves. If your basil stems are very thick, you can strip the leaves off to avoid any stringin extractess in your pesto.
Step 1: Prepare Your Nuts
Before we get blending, it’s a good idea to lightly toast your pine nuts. This step is entirely optional, but it really does bring out a more intense nutty flavor and a slightly deeper, richer aroma in your pesto. To toast them, spread the pine nuts in a dry skillet over medium-low heat. Stir them frequently to prevent burning. They’ll become fragrant and lightly golden brown in just a few minutes. Keep a close eye on them, as they can go from perfectly toasted to burnt very quickly. Once they’ve reached that beautiful golden hue and aroma, immediately remove them from the skillet and set them aside to cool completely. This will ensure they don’t add any unwanted bitterness to your pesto. If you’re using walnuts or pumpkin seeds, the toasting process is similar.
Step 2: Toasting the Garlic (Optional but Recommended)
For a milder, sweeter garlic flavor that won’t overpower the delicate basil, consider lightly roasting or sautéing your garlic cloves. You can do this by placing the peeled garlic cloves in a small saucepan with a tablespoon of olive oil. Cook them over very low heat, stirring occasionally, until they are just softened and slightly fragrant, not browned. Alternatively, you can wrap them in foil with a drizzle of olive oil and roast them in a preheated oven at 350°F (175°C) for about 10-15 minutes. This gentle cooking process mellows the sharp bite of raw garlic, allowing the basil to truly shine. If you prefer a more pungent garlic flavor, feel free to use the raw garlic cloves directly in the next step, but I find this slight cooking really enhances the overall balance of the pesto.
Step 3: Combine Your Pesto Ingredients
Now for the fun part – the blending! You can use a food processor or a high-powered blender for this. Add your cooled toasted pine nuts (or your chosen alternative nuts/seeds), the softened garlic cloves, the packed basil leaves, the salt, and the nutritional yeast to the bowl of your food processor or blender. Give it a quick pulse or two to break everything down slightly. Don’t over-process at this stage; we just want to start incorporating the ingredients. It’s always better to start with less liquid and add more as needed, so resist the urge to pour in all the olive oil just yet. This initial pulsing will help create a good base for the emulsion.
Step 4: Emulsify with Olive Oil
With the food processor or blender running on a low setting, slowly drizzle in the olive oil through the feed tube or opening. Continue to process until the pesto is smooth and creamy. The amount of olive oil you need might vary slightly depending on the freshness and dryness of your basil. You’re looking for a consistency that’s spreadable but not too oily. If it seems too thick, you can add another tablespoon or two of olive oil, or even a tiny splash of water, to reach your desired texture. Taste the pesto at this point and adjust the salt if necessary. Remember, the flavors will meld and deepen as it sits, so don’t be afraid to season it well. A squeeze of fresh lemon juice also brightens everything up beautifully, so add that now and pulse to combine.
Step 5: Finishing Touches and Storage
Once you’ve achieved the perfect consistency and flavor, your dairy-free pesto is ready to enjoy! Transfer it to an airtight container. To help preserve its vibrant green color and prevent oxidation, you can pour a thin layer of olive oil over the top of the pesto before sealing the container. This acts as a barrier against air. Stored in the refrigerator, this dairy-free pesto should stay fresh for about 5 to 7 days. For longer storage, you can freeze it in ice cube trays. Once frozen, transfer the pesto cubes to a freezer-safe bag or container. This way, you can easily thaw individual portions whenever you need a burst of fresh pesto flavor. Enjoy your homemade dairy-free pesto in all your culinary creations!
Step 3: Combine Your Pesto Ingredients
Now for the fun part – the blending! You can use a food processor or a high-powered blender for this. Add your cooled toasted pine nuts (or your chosen alternative nuts/seeds), the softened garlic cloves, the packed basil leaves, the salt, and the nutritional yeast to the bowl of your food processor or blender. Give it a quick pulse or two to break everything down slightly. Don’t over-process at this stage; we just want to start incorporating the ingredients. It’s always better to start with less liquid and add more as needed, so resist the urge to pour in all the olive oil just yet. This initial pulsing will help create a good base for the emulsion.
Step 4: Emulsify with Olive Oil
With the food processor or blender running on a low setting, slowly drizzle in the olive oil through the feed tube or opening. Continue to process until the pesto is smooth and creamy. The amount of olive oil you need might vary slightly depending on the freshness and dryness of your basil. You’re looking for a consistency that’s spreadable but not too oily. If it seems too thick, you can add another tablespoon or two of olive oil, or even a tiny splash of water, to reach your desired texture. Taste the pesto at this point and adjust the salt if necessary. Remember, the flavors will meld and deepen as it sits, so don’t be afraid to season it well. A squeeze of fresh lemon juice also brightens everything up beautifully, so add that now and pulse to combine.
Step 5: Finishing Touches and Storage
Once you’ve achieved the perfect consistency and flavor, your dairy-free pesto is ready to enjoy! Transfer it to an airtight container. To help preserve its vibrant green color and prevent oxidation, you can pour a thin layer of olive oil over the top of the pesto before sealing the container. This acts as a barrier against air. Stored in the refrigerator, this dairy-free pesto should stay fresh for about 5 to 7 days. For longer storage, you can freeze it in ice cube trays. Once frozen, transfer the pesto cubes to a freezer-safe bag or container. This way, you can easily thaw individual portions whenever you need a burst of fresh pesto flavor. Enjoy your homemade dairy-free pesto in all your culinary creations!
Step 5: Finishing Touches and Storage
Once you’ve achieved the perfect consistency and flavor, your dairy-free pesto is ready to enjoy! Transfer it to an airtight container. To help preserve its vibrant green color and prevent oxidation, you can pour a thin layer of olive oil over the top of the pesto before sealing the container. This acts as a barrier against air. Stored in the refrigerator, this dairy-free pesto should stay fresh for about 5 to 7 days. For longer storage, you can freeze it in ice cube trays. Once frozen, transfer the pesto cubes to a freezer-safe bag or container. This way, you can easily thaw individual portions whenever you need a burst of fresh pesto flavor. Enjoy your homemade dairy-free pesto in all your culinary creations!
Conclusion:
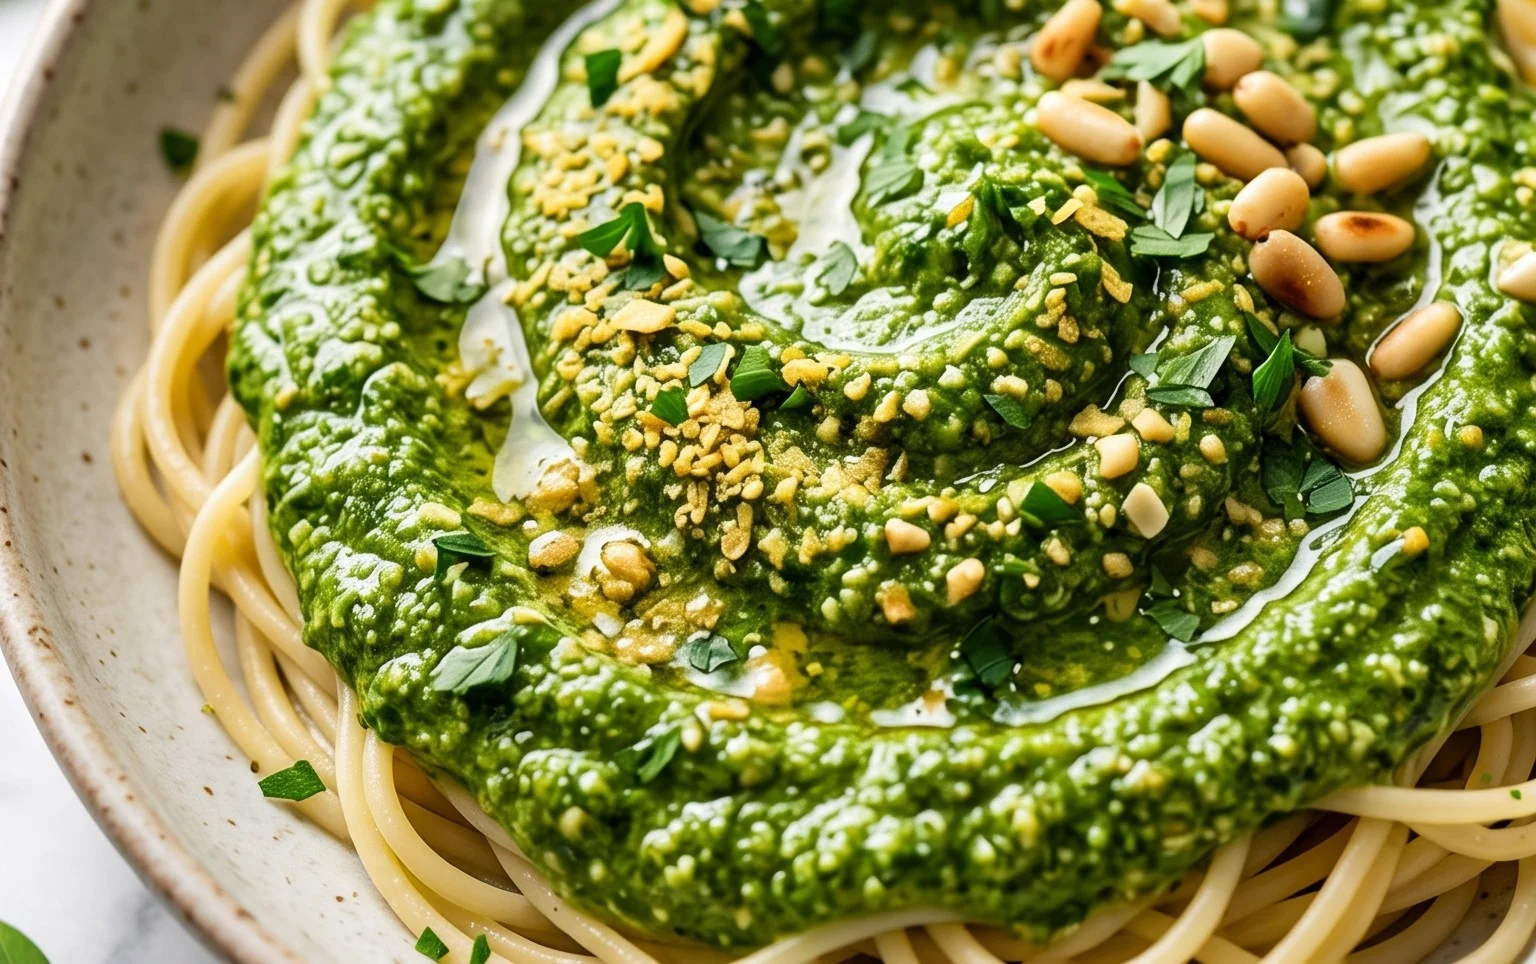
I hope you’re as excited to try this dairy-free pesto recipe as I am to share it! This recipe is fantastic because it delivers all the vibrant, herbaceous, and garlicky flavor you crave from traditional pesto, without any of the dairy. It’s incredibly versatile, easy to whip up, and a game-changer for anyone with lactose intolerance or who simply prefers a plant-based option. Imagin extracte the possibilities: toss it with your favorite pasta for a quick and satisfying meal, spread it on crusty bread for an appetizer, dollop it onto grilled vegetables, or even use it as a flavorful marinade for chicken or fish. The combination of fresh basil, pine nuts, garlic, olive oil, and nutritional yeast creates a creamy, cheesy-like texture that will surprise and delight you. Don’t be afraid to experiment with variations – add a squeeze of lemon for brightness, a pinch of red pepper flakes for heat, or swap out the pine nuts for walnuts or almonds. I truly encourage you to give this dairy-free pesto a try; you won’t be disappointed by its incredible taste and adaptability!
Frequently Asked Questions about Dairy-Free Pesto:
Q: Can I make this dairy-free pesto ahead of time?
A: Absolutely! This dairy-free pesto stores beautifully in an airtight container in the refrigerator for up to 5 days. The olive oil on top will help preserve it. Just give it a good stir before using, as some separation may occur.
Q: What if I don’t have pine nuts?
A: No problem! You can easily substitute other nuts or seeds. Toasted walnuts, almonds, or even sunflower seeds (for a nut-free option) work wonderfully and add their own unique flavor profile to the pesto.
Q: How can I make this pesto spicier?
A: For a little kick, I recommend adding a pinch of red pepper flakes along with the garlic. You can also roast your garlic beforehand for a milder, sweeter flavor that pairs well with a touch of heat.
Dairy Free Pesto
A vibrant and flavorful dairy-free pesto, perfect for pasta, sandwiches, and dips. Made with fresh basil, pine nuts, garlic, lemon, and olive oil, with nutritional yeast for a cheesy hint.
Ingredients
-
3 cups basil
-
1/2 lemon (juiced)
-
1/2 cup pine nuts
-
2 cloves garlic
-
1/4 cup olive oil
-
1/2 tsp salt
-
2 tbsp nutritional yeast
Instructions
-
Step 1
Combine basil, pine nuts, garlic, lemon juice, and salt in a food processor. -
Step 2
Pulse until coarsely chopped. -
Step 3
With the food processor running, slowly drizzle in the olive oil until the pesto is smooth but still has some texture. -
Step 4
Add nutritional yeast (if using) and pulse to combine. -
Step 5
Taste and adjust seasoning if needed. -
Step 6
Transfer to a jar or airtight container and store in the refrigerator.
Important Information
Nutrition Facts (Per Serving)
It is important to consider this information as approximate and not to use it as definitive health advice.
Allergy Information
Please check ingredients for potential allergens and consult a health professional if in doubt.