Easy Chocolate Protein Pudding – Healthy Treat
Chocolate Protein Pudding Recipe: Are you craving something decadent, a treat that satisfies your sweet tooth without derailing your health goals? Then get ready to meet your new best friend! This isn’t just any dessert; it’s a powerhouse of deliciousness and nutrition, designed to make you feel amazing from the inside out. We all love that rich, creamy texture and intense chocolate flavor that only a perfect pudding can deliver, and this chocolate protein pudding recipe absolutely nails it. What makes this version truly special is its ability to be both a guilt-free indulgence and a fantastic way to boost your protein intake. Imagin extracte a dessert that supports muscle recovery, keeps you feeling full and satisfied, and tastes like pure bliss – that’s exactly what this recipe offers. Say goodbye to bland protein snacks and hello to a truly delightful, satisfying, and surprisingly easy-to-make treat that you’ll be reaching for again and again.
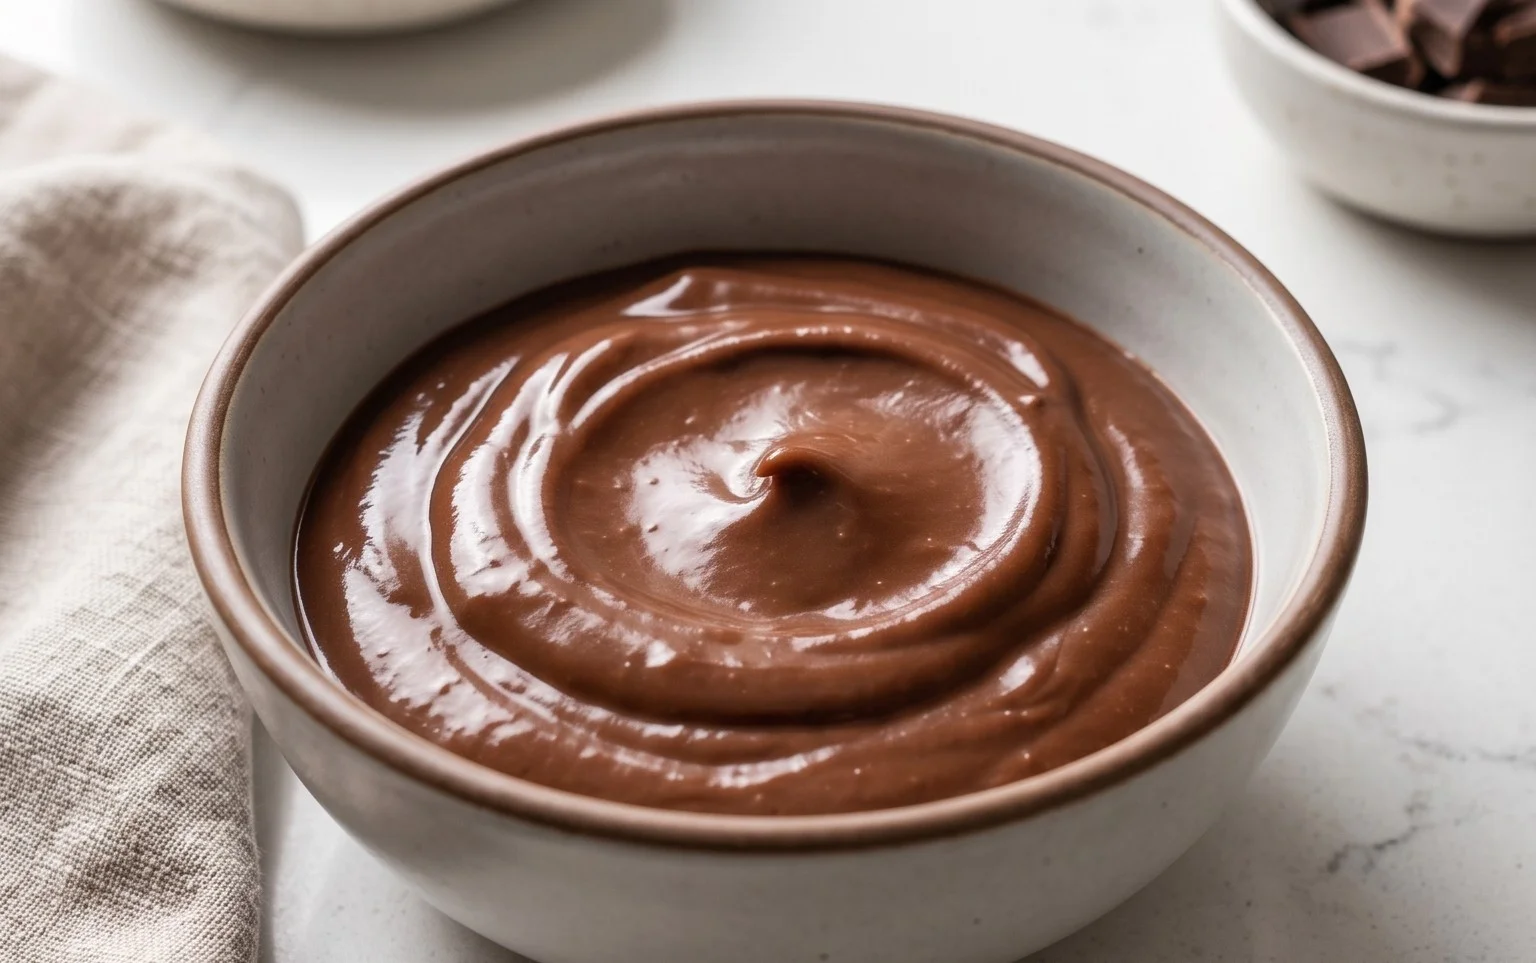
Chocolate Protein Pudding Recipe
Are you looking for a decadent yet healthy dessert or a satisfying post-workout treat that won’t derail your fitness goals? Look no further! This Chocolate Protein Pudding is the answer to your sweet cravings. It’s incredibly easy to make, requires no cooking, and is packed with protein to keep you feeling full and energized. Forget those chalky, artificial-tasting protein desserts; this recipe delivers a rich, creamy chocolate experience that tastes like a true indulgence.
The beauty of this pudding lies in its simplicity and versatility. It’s the perfect base for your favorite toppings, whether you prefer fresh berries, a sprinkle of nuts, or a dollop of whipped cream. You can whip up a batch in minutes and have a delicious, guilt-free treat ready whenever the mood strikes. I love making a big batch at the begin extractning of the week for easy grab-and-go snacks. It’s also a fantastic way to sneak in extra protein for picky eaters, disguised as a delightful dessert. Let’s get started on creating this incredibly satisfying chocolate protein pudding!
Ingredients:
Instructions:
Step 1: Combine the Base Ingredients
Start by gathering your ingredients. You’ll need a large mixing bowl and a whisk or a sturdy spoon. The foundation of this rich pudding is the Greek yogurt. I prefer using full-fat Greek yogurt because it lends a wonderfully creamy and luxurious texture to the pudding. If you’re watching your fat intake, you can opt for 2% or even non-fat, but be aware that the texture might be slightly less decadent. If you’re using plain Greek yogurt, the vanilla extract and cocoa powder will provide plenty of flavor. However, if you choose vanilla Greek yogurt, you can adjust the sweetness and vanilla extract to your preference.
Add the entire 5 cups of Greek yogurt into your large mixing bowl. Next, it’s time to introduce the star of the show for its protein punch: the chocolate protein powder. Ensure your protein powder is a flavor you enjoy, as it will significantly influence the final taste. I typically use a high-quality chocolate whey protein, but a plant-based chocolate protein powder will work equally well. Measure out your 4 scoops. Remember, each scoop can vary in tablespoon size, so aim for approximately 8-12 tablespoons in total, depending on your scoop’s measurement.
Step 2: Incorporate the Chocolate and Vanilla Flavors
Now, let’s deepen the chocolate flavor and add that classic pudding aroma. Add the unsweetened cocoa powder to the bowl. The amount of cocoa powder can be adjusted based on how intense you like your chocolate flavor. I find 3 tablespoons gives a good balance, but if you’re a serious chocolate lover, feel free to go up to 4 tablespoons. Unsweetened cocoa powder is key here; it provides a pure chocolate taste without adding extra sugar, allowing us to control the sweetness with the maple syrup.
Following the cocoa powder, add the teaspoon of vanilla extract. Vanilla extract is a flavor enhancer that will round out the chocolate notes beautifully and add a subtle depth. It’s a small ingredient, but it makes a big difference in creating a well-balanced dessert. Give all these dry ingredients – the protein powder and cocoa powder – and the vanilla extract a preliminary stir with the yogurt, just to break them up a bit before fully mixing. This will help prevent clumps from forming later.
Step 3: Sweeten and Blend to Perfection
At this stage, it’s time to add your sweetener. The 2 tablespoons of maple syrup will provide just enough sweetness to balance the richness of the chocolate and the slight tang of the Greek yogurt. If you prefer a sweeter pudding, you can add an extra teaspoon or two of maple syrup, or even a touch of your favorite sugar-free sweetener. Taste as you go to achieve your desired sweetness level. Remember, you can always add more, but you can’t take it away!
Now comes the crucial step of mixing everything together until it’s completely smooth and creamy. Use your whisk or spoon to vigorously combine all the ingredients. You want to ensure there are absolutely no lumps of protein powder or cocoa powder remaining. This might take a few minutes of diligent stirring. The mixture will start to thicken as the protein powder hydrates and the yogurt and cocoa powder emulsify. If you have a hand mixer or a stand mixer, you can certainly use that for an even smoother and quicker result, but a good old-fashioned whisk will do the job perfectly. The goal is a velvety smooth consistency, similar to traditional pudding.
Step 4: Achieving the Ideal Pudding Texture
As you continue to mix, you’ll notice the pudding transforming from a looser yogurt mixture into a thicker, spoonable consistency. The protein powder will absorb some of the moisture from the yogurt, and the cocoa powder will contribute to the density. If you find the pudding is too thick for your liking at this point, you can add a tiny splash (about a tablespoon at a time) of milk – dairy or non-dairy – and stir it in until you reach your desired consistency. Conversely, if it’s a bit too thin, don’t worry! The pudding will continue to thicken as it chills.
Once you’ve achieved a smooth, uniform consistency without any lumps, give it a final taste test. Adjust sweetness or cocoa powder if necessary. This is your chance to personalize the flavor to perfection. Make sure all the ingredients are fully incorporated; a well-mixed pudding is key to both texture and taste.
Step 5: Chill and Serve
The final and perhaps most important step is to let the pudding chill. Transfer the chocolate protein pudding into individual serving dishes or one larger container. Cover them tightly with plastic wrap or lids. For the best texture and flavor, refrigerate the pudding for at least 1 to 2 hours. This chilling time allows the flavors to meld together and the pudding to firm up to its ideal pudding-like consistency. The longer it chills, the firmer and more pudding-like it will become. I often make this the night before and let it chill overnight for the ultimate set.
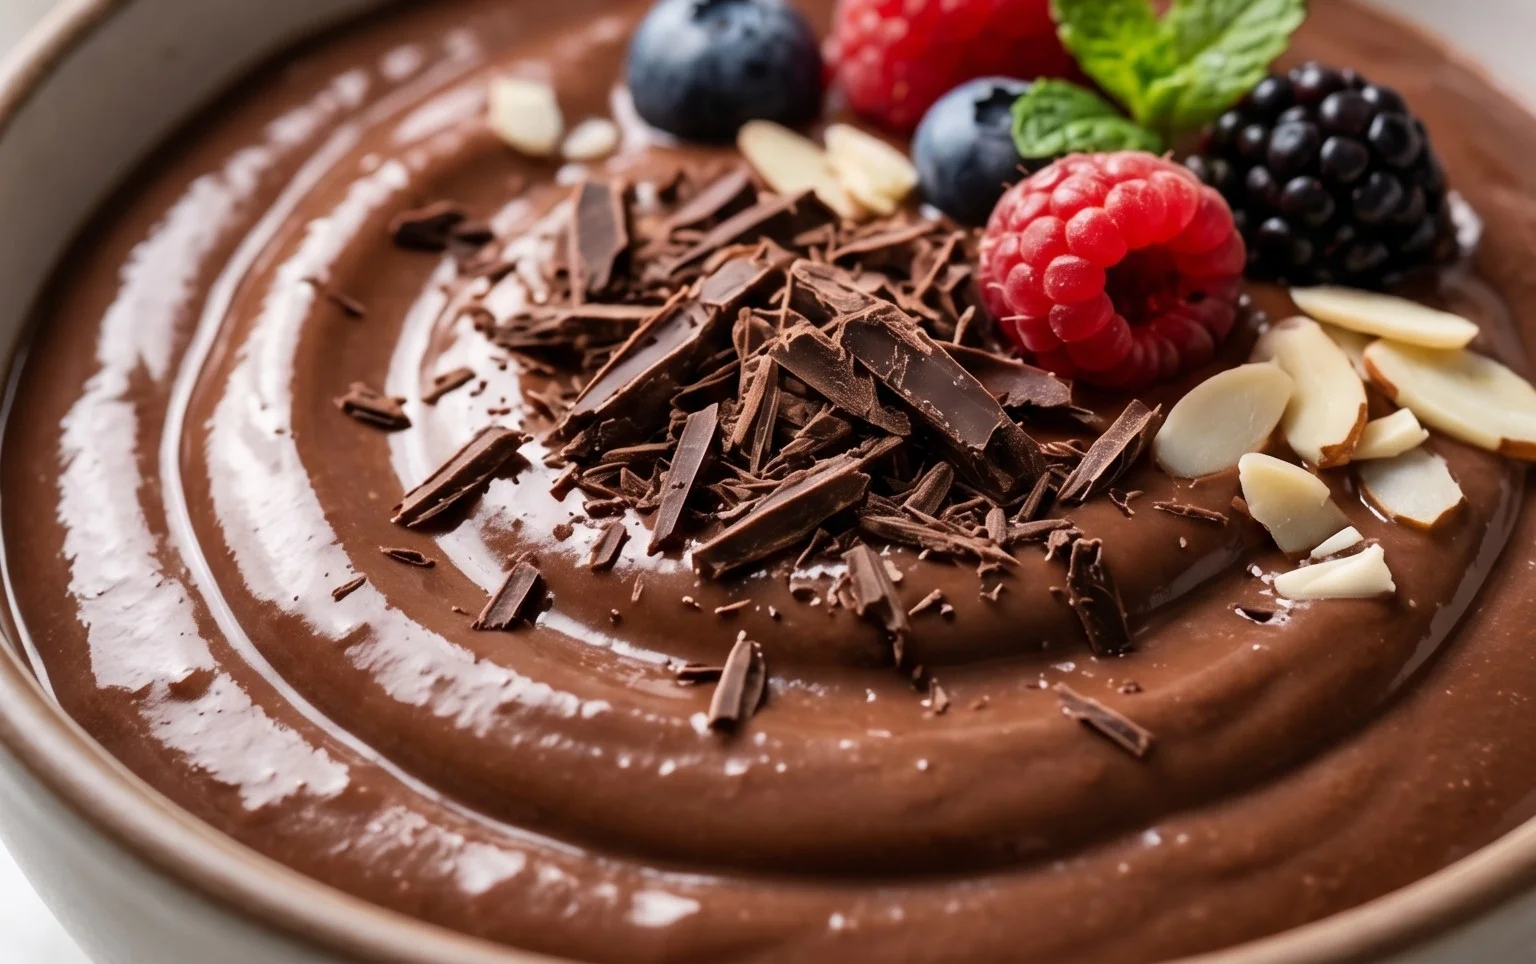
Once chilled, your delicious and healthy Chocolate Protein Pudding is ready to be enjoyed! Serve it plain or get creative with your favorite toppings. A few fresh berries, a sprinkle of chopped nuts, a drizzle of sugar-free chocolate syrup, or a dollop of coconut whipped cream can elevate this simple pudding into a gourmet dessert. Enjoy this guilt-free indulgence that fuels your body and satisfies your sweet tooth!
Conclusion:
And there you have it – your ultimate guide to creating the most delicious and satisfying Chocolate Protein Pudding! This recipe is truly a winner because it masterfully combines decadent chocolate flavor with a powerful protein punch, making it the perfect guilt-free treat for any time of day. It’s incredibly simple to whip up, requiring minimal ingredients and effort, yet delivers a restaurant-worthy dessert experience right in your own kitchen. I’ve loved how versatile this chocolate protein pudding is; it’s become my go-to for a post-workout refuel, a mid-afternoon energy boost, or even a healthy dessert alternative. Don’t hesitate to experiment with different toppings like fresh berries, a sprinkle of chopped nuts, a dollop of Greek yogurt, or even a drizzle of sugar-free caramel. You can also play around with the liquid base – try almond milk for a lighter taste or even coconut milk for added creaminess. I truly encourage you to give this chocolate protein pudding a try. I’m confident you’ll be just as delighted with the results as I am!
Frequently Asked Questions:
Can I make this pudding ahead of time?
Absolutely! This chocolate protein pudding is fantastic for meal prep. I often make a batch on Sunday and keep it in individual containers in the refrigerator for easy access throughout the week. It will stay fresh for up to 3-4 days. The consistency might thicken slightly as it chills, which is perfectly normal.
What kind of protein powder works best?
I’ve found that most chocolate or unflavored whey protein powders work wonderfully. If you’re using an unflavored one, you might want to add a touch more cocoa powder for a deeper chocolate flavor. Plant-based protein powders can also be used, but they might alter the texture slightly, so be prepared for a potentially denser pudding.
Can I sweeten this pudding naturally?
Yes, you certainly can! Instead of artificial sweeteners, I often use a tablespoon of pure maple syrup or a couple of pitted Medjool dates blended in with the other ingredients. You can also adjust the amount to your personal preference. Remember that the sweetness of your protein powder will also play a role.
Chocolate Protein Pudding
A quick and easy chocolate protein pudding recipe for a healthy dessert or snack.
Ingredients
-
5 cups Greek yogurt (full-fat, plain or vanilla)
-
4 scoops chocolate protein powder
-
3 tablespoons unsweetened cocoa powder
-
1 teaspoon vanilla extract
-
2 tablespoons maple syrup
Instructions
-
Step 1
In a large bowl, combine the Greek yogurt and chocolate protein powder. -
Step 2
Add the unsweetened cocoa powder and vanilla extract to the bowl. -
Step 3
Pour in the maple syrup. -
Step 4
Whisk all ingredients together until smooth and well combined. Ensure no lumps remain. -
Step 5
Divide the pudding into individual serving bowls or containers. -
Step 6
Chill in the refrigerator for at least 30 minutes before serving to allow it to thicken.
Important Information
Nutrition Facts (Per Serving)
It is important to consider this information as approximate and not to use it as definitive health advice.
Allergy Information
Please check ingredients for potential allergens and consult a health professional if in doubt.