Easy Homemade Bread Recipe- Simple Delicious Baking
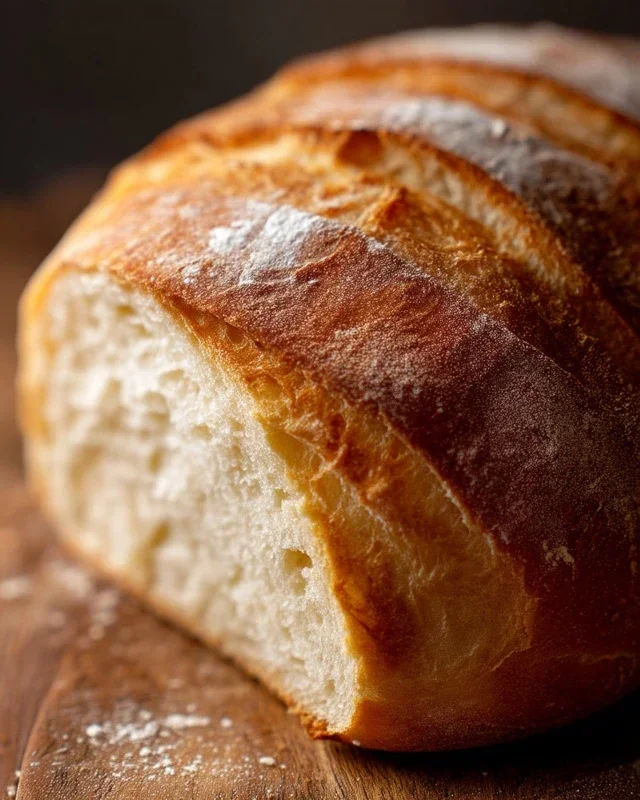
Homemade bread is more than just a recipe; it’s an experience that fills your kitchen with an non-intoxicating aroma and your heart with a sense of accomplishment. There’s a primal satisfaction in transforming simple ingredients – flour, water, yeast, and salt – into a warm, crusty loaf. Why do we crave this rustic magic? Perhaps it’s the tangible connection to tradition, a culinary craft passed down through generations. Or maybe it’s the sheer pleasure of a slice, still warm from the oven, slathered with butter. The beauty of homemade bread lies in its beautiful simplicity, yet the depth of flavor and the unparalleled texture are what truly set it apart from anything store-bought. It’s a testament to patience and a little bit of love, creating a truly special treat.
The Joy of Kneading: Crafting Your Own Delicious Loaf
Discover the simple pleasures and incredible rewards of baking your own delicious homemade bread from scratch.
The Joy of Homemade Bread: Simple Steps to a Delicious Loaf
There’s something incredibly rewarding about pulling a golden, fragrant loaf of bread from your own oven. The aroma alone is enough to transform your kitchen into a cozy haven. While it might seem daunting, making bread from scratch is surprisingly achievable, even for begin extractners. Forget those store-bought loaves that lack character and flavor; with a few simple ingredients and a little patience, you can master the art of homemade bread. This recipe will guide you through creating a beautiful, soft, and delicious loaf that will have everyone asking for seconds.
Ingredients:
*Note on Yeast and Flour: For best results, ensure your active dry yeast is fresh. If it’s been in your pantry for a while, you can test its viability by dissolving it in the warm water with a pinch of sugar. If it becomes foamy within 5-10 minutes, it’s good to go! Using bread flour will yield a chewier crum extractb due to its higher gluten content, but all-purpose flour will also produce a wonderful loaf.
Getting Started: Activating the Yeast
The first step to a perfect loaf is awakening your yeast. In a large mixing bowl, combine the warm water and your chosen sweetener (honey or sugar). Sprinkle the active dry yeast over the top. Give it a gentle stir to ensure the yeast is mostly submerged. Now, here’s where patience comes in. Cover the bowl loosely with a clean kitchen towel or plastic wrap and let it sit in a warm, draft-free spot for about 5 to 10 minutes. You’re looking for the mixture to become foamy and bubbly. This indicates that your yeast is alive and ready to work its magic, producing the gases that will make your bread rise. If you don’t see any activity, your yeast might be inactive, and you’ll need to start again with fresh yeast.
Building the Dough: Combining the Ingredients
Once your yeast mixture is frothy and alive, it’s time to add the other foundational ingredients. To the yeast mixture, add the salt and the oil. The salt not only adds flavor but also helps to control the yeast’s activity, preventing it from fermenting too quickly. The oil contributes to the softness and tenderness of the final crum extractb. Now, gradually start adding the flour. Begin extract by adding about 4 cups of flour, stirring with a wooden spoon or a sturdy spatula until a shaggy dough begin extracts to form. It will look rough and unappealing at this stage, and that’s perfectly normal.
Kneading: Developing the Gluten
This is where the real work and the real satisfaction begin extract. Turn the shaggy dough out onto a lightly floured surface. Begin extract to knead the dough. This process develops the gluten strands within the flour, which are essential for giving the bread its structure and chewy texture. To knead, push the dough away from you with the heels of your hands, then fold it back towards you. Rotate the dough and repeat. Initially, the dough will be sticky and might cling to your hands and the surface. Resist the urge to add too much extra flour at this stage; a little sticking is part of the process. As you continue to knead, you’ll notice the dough becoming smoother, more elastic, and less sticky. Continue kneading for about 8 to 10 minutes. The dough should become smooth and elastic, springin extractg back slowly when gently poked. If it feels too wet and sticky after a few minutes of kneading, add a tablespoon of flour at a time, incorporating it fully before adding more.
First Rise: Letting the Dough Rest and Grow
Once you’ve achieved a smooth, elastic dough, it’s time for its first rest. Lightly grease a clean bowl with a little oil. Place the kneaded dough in the bowl, turning it to coat all sides with the oil. This prevents the dough from drying out as it rises. Cover the bowl tightly with plastic wrap or a damp kitchen towel. Find that warm, draft-free spot again – your oven with the light on (but the oven off!) is a great option, or simply a sunny windowsill. Let the dough rise for about 1 to 1.5 hours, or until it has doubled in size. You’ll know it’s ready when you can gently poke it with your finger and the indentation remains. This is the yeast doing its job, creating those delightful air pockets that will make your bread light and airy.
Shaping and Second Rise: Preparing for the Oven
Gently punch down the risen dough to release the air. Turn it out onto a lightly floured surface again. At this stage, you can shape your loaf. For a classic round loaf, gently tuck the edges underneath to create a smooth ball. For a sandwich loaf, shape it into a rectangle and then roll it up tightly from one end to the other, pinching the seam to seal. Place the shaped loaf into a greased loaf pan or onto a baking sheet lined with parchment paper. Cover it loosely again and let it rise for a second time, for about 30 to 45 minutes, or until it has noticeably increased in size and looks puffy. This second rise is crucial for the final texture and volume of your bread.
Baking: The Golden Transformation
Preheat your oven to 375 degrees Fahrenheit (190 degrees Celsius) while your loaf is undergoing its second rise. Once the oven is preheated and your loaf is ready, carefully place it in the center of the oven. Bake for 30 to 40 minutes, or until the crust is a deep golden brown and the internal temperature of the bread reaches around 200-210 degrees Fahrenheit (93-99 degrees Celsius) when tested with an instant-read thermometer. You can also tap the bottom of the loaf; it should sound hollow. If the crust is browning too quickly, you can loosely tent it with aluminum foil.
Cooling: The Final, Crucial Step
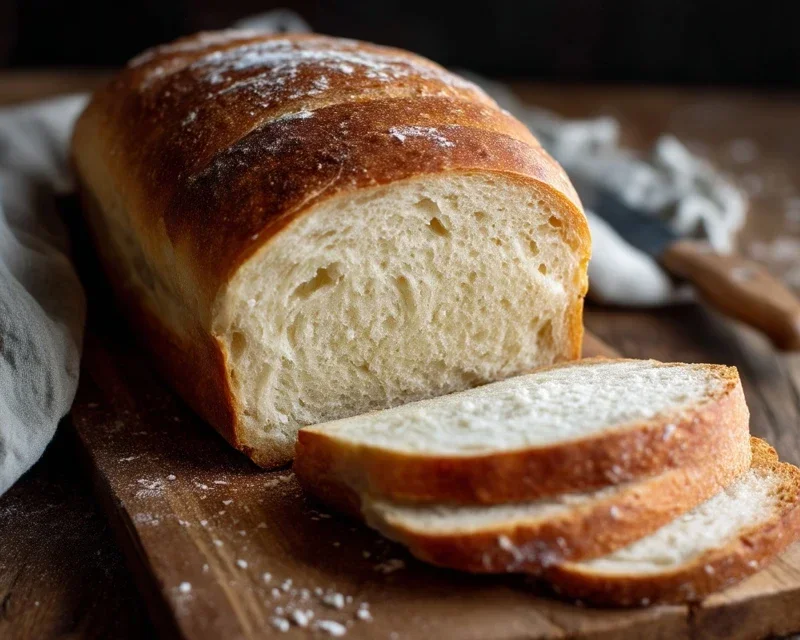
Once baked to perfection, carefully remove the bread from the oven and immediately transfer it from the pan to a wire cooling rack. This is a critical step! Letting the bread cool in the pan can lead to a soggy bottom. Resist the urge to slice into it immediately, no matter how tempting that aroma is. Allow the bread to cool completely, which usually takes at least an hour. This cooling period allows the internal structure of the bread to set, ensuring a beautiful, even crum extractb when you finally slice into it. The wait is absolutely worth it. Enjoy the fruits of your labor – a truly magnificent loaf of homemade bread!
Conclusion:
Congratulations on embarking on the wonderful journey of baking your own homemade bread! As you’ve seen, this recipe offers a deeply satisfying and surprisingly accessible way to create a delicious staple right in your own kitchen. The aroma alone as it bakes is enough to fill your home with warmth and comfort, and the taste of fresh, artisanal bread far surpasses anything store-bought. It’s a rewarding process that connects you to a time-honored tradition. I encourage you to give it a try – you’ll be amazed at what you can achieve!
This versatile bread is perfect served warm with a generous slather of butter, alongside your favorite soups and stews, or as the base for incredible sandwiches. For variations, consider adding herbs like rosemary or thyme to the dough, or even a handful of cheese for a savory twist. You could also experiment with different flours, like whole wheat or rye, for a nuttier flavor profile. The possibilities are truly endless!
Frequently Asked Questions:
What if my dough isn’t rising?
Several factors can affect dough rise. Ensure your yeast is fresh and active (test it in warm water with a pinch of sugar – it should foam). Make sure your proving environment is warm enough (around 75-80°F or 24-27°C). Avoid using water that is too hot, as it can kill the yeast.
How can I get a crispy crust?
A crispy crust is often achieved by creating steam in your oven during the initial baking phase. You can do this by placing a shallow pan of water on the bottom rack of your oven while it preheats, or by spritzing the oven walls with water a few times in the first 10-15 minutes of baking. Also, ensure your oven is fully preheated before baking.
Homemade Bread
A simple and delicious recipe for homemade bread, perfect for beginners. This recipe yields a soft and fluffy loaf with a lovely crust.
Ingredients
-
2 cups warm water (105-115 degrees)
-
1 Tablespoons active dry yeast
-
1/4 cup honey
-
2 teaspoons salt
-
2 Tablespoons canola oil
-
4 – 5 1/2 cups all-purpose flour
Instructions
-
Step 1
In a large bowl, combine the warm water and honey. Sprinkle the yeast over the water and let it sit for 5-10 minutes until foamy. -
Step 2
Add the salt and oil to the yeast mixture. Gradually add the flour, 1 cup at a time, mixing until a shaggy dough forms. You may not need all of the flour. -
Step 3
Turn the dough out onto a lightly floured surface and knead for 8-10 minutes until smooth and elastic. The dough should spring back when lightly poked. -
Step 4
Place the dough in a lightly oiled bowl, turning to coat. Cover with a clean kitchen towel and let it rise in a warm place for 1-1.5 hours, or until doubled in size. -
Step 5
Punch down the dough and shape it into a loaf. Place the loaf in a greased 9×5 inch loaf pan. -
Step 6
Cover the loaf pan and let the dough rise again for 30-45 minutes, until it has risen about 1 inch above the rim of the pan. -
Step 7
Preheat your oven to 375 degrees F (190 degrees C). Bake for 30-35 minutes, or until the crust is golden brown and the internal temperature reaches 190-200 degrees F (88-93 degrees C). -
Step 8
Remove the bread from the pan and let it cool completely on a wire rack before slicing.
Important Information
Nutrition Facts (Per Serving)
It is important to consider this information as approximate and not to use it as definitive health advice.
Allergy Information
Please check ingredients for potential allergens and consult a health professional if in doubt.